Pickling is big right now. Or it seems to be. And so it should be.
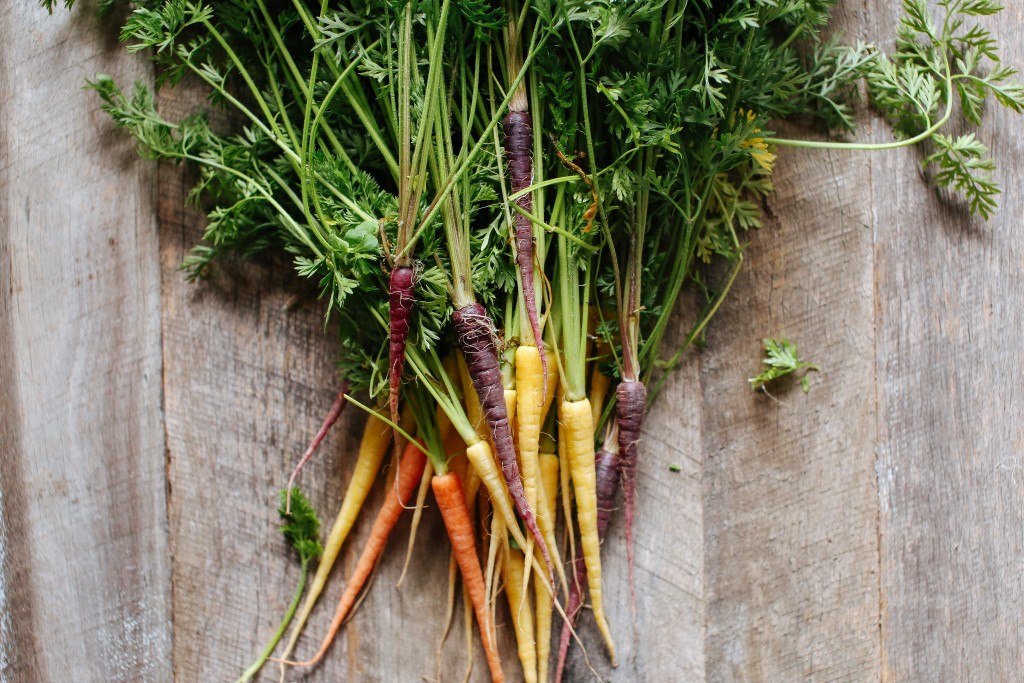
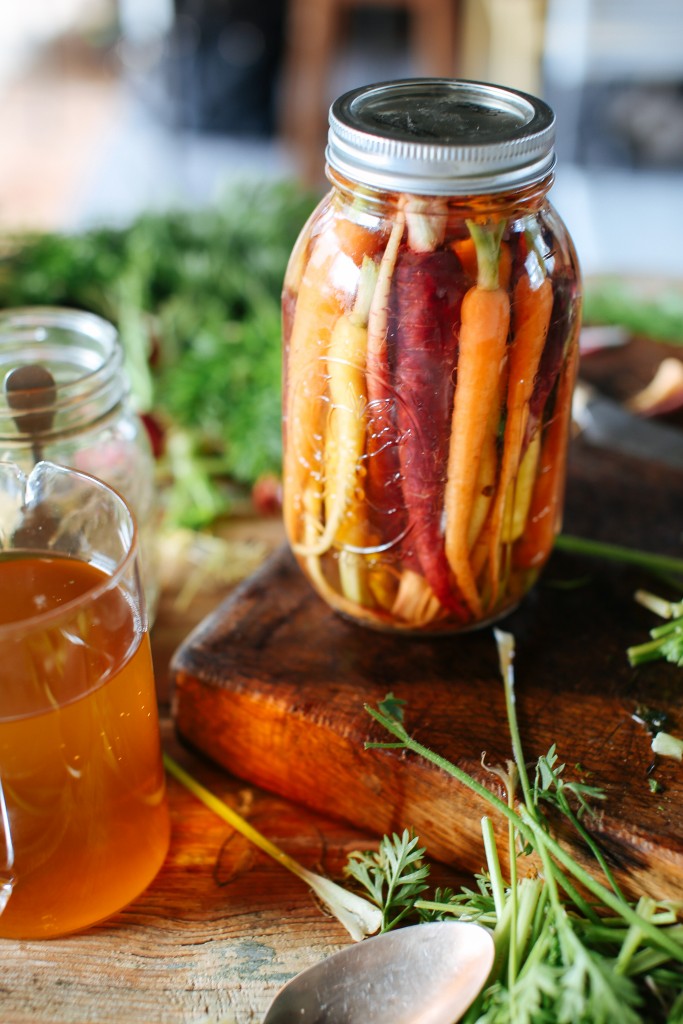
I love a quick pickle myself, and while a post on preserving in winter, the leanest of months in some ways, might seem counter intuitive, every season brings new produce to put away or ‘put up’ as our American friends say, and this one is no different. And if you don’t take my word for it, take it from Australia’s preserving queen, Sally Wise. Think of all the beautiful root vegetables in season right now, like say, carrots. Think of how quickly your beautiful bunch of multi-coloured carrots from the market can loose their crunch if not roasted or eaten up fairly quickly. And think of how easy it is, truly, to quickly pickle them so they’ll last for weeks and completely burst with flavour when you reach for that jar and raise the bar for dinner or lunch that night.
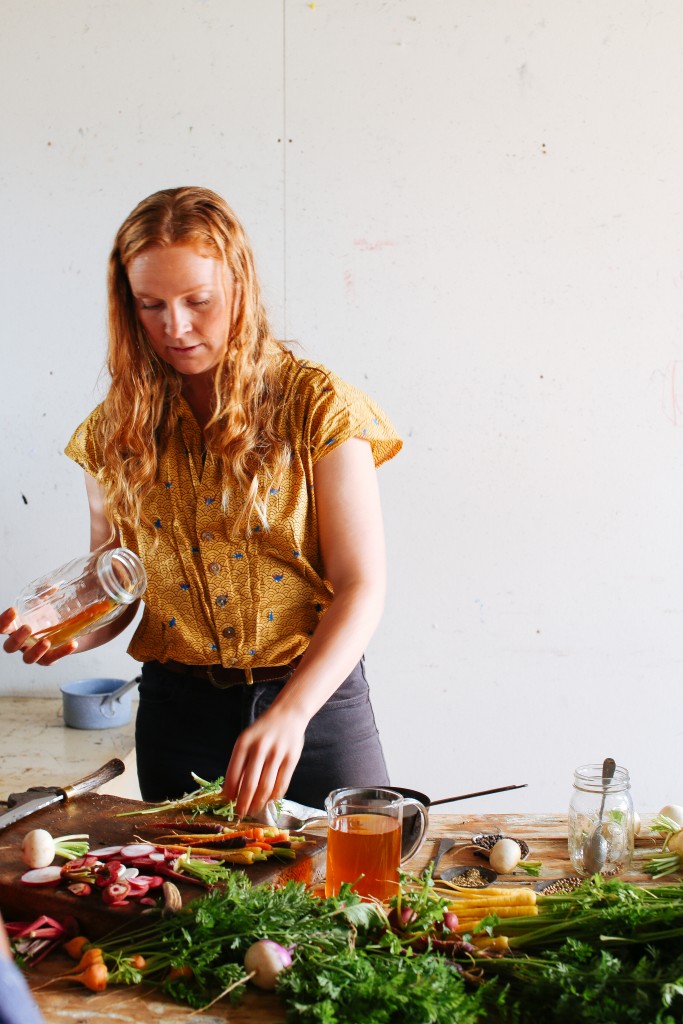
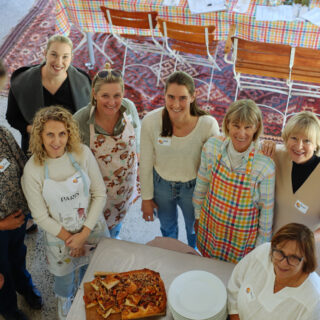
You may remember the lovely Erika of Epicurean Harvest from recent posts such as this one. Well, she came along to our most recent Local is Lovely Workshop with her amazing organic produce and gave us a little demo on easy pickling. Erika and partner Hayden do lots of preserving; any extra produce is lovingly put away by these two, either for themselves or for local cafes and shops and so this perserving business is definitely home ground. Here is her recipe below. And a few ideas on what to do with your pickles once you’re done…
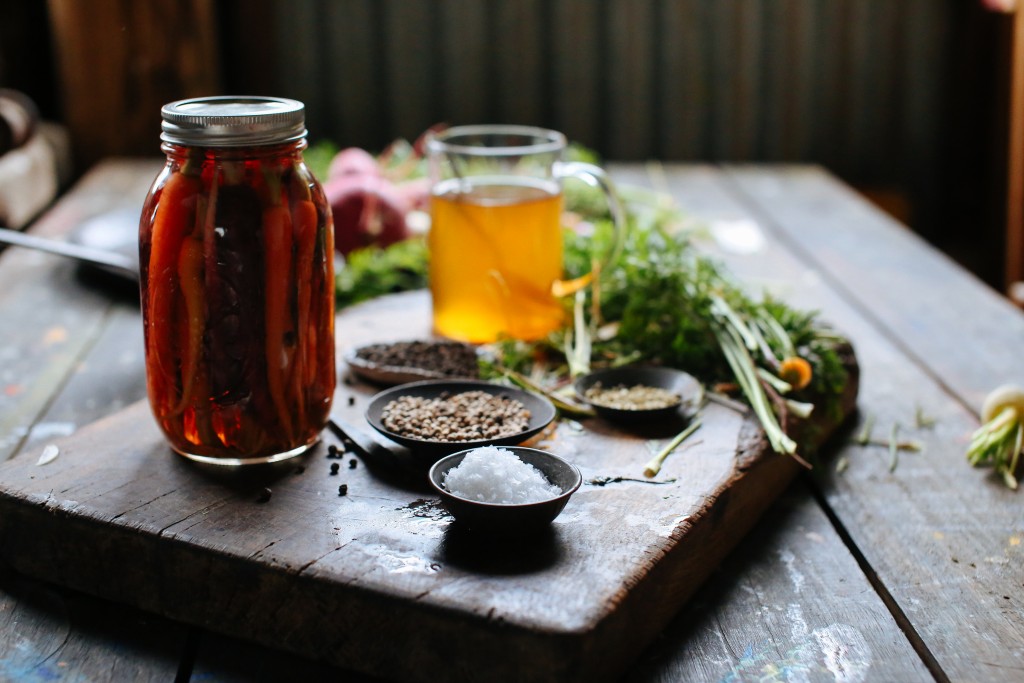
Erika’s Pickled Carrots (makes 2 x 360mL jars)
The pickling recipe I use is in no way complicated. I am in no way an officiado in pickling and all for keeping things simple, approachable and adaptable! So while it is a rather long read for such a simple process this is our go-to pickling recipe and it has served us very well! This is an excellent recipe to bring some colour to the table in late winter, early Spring when a lot of what we eat is dark greens, cabbages and stored vegetables (potatoes etc).
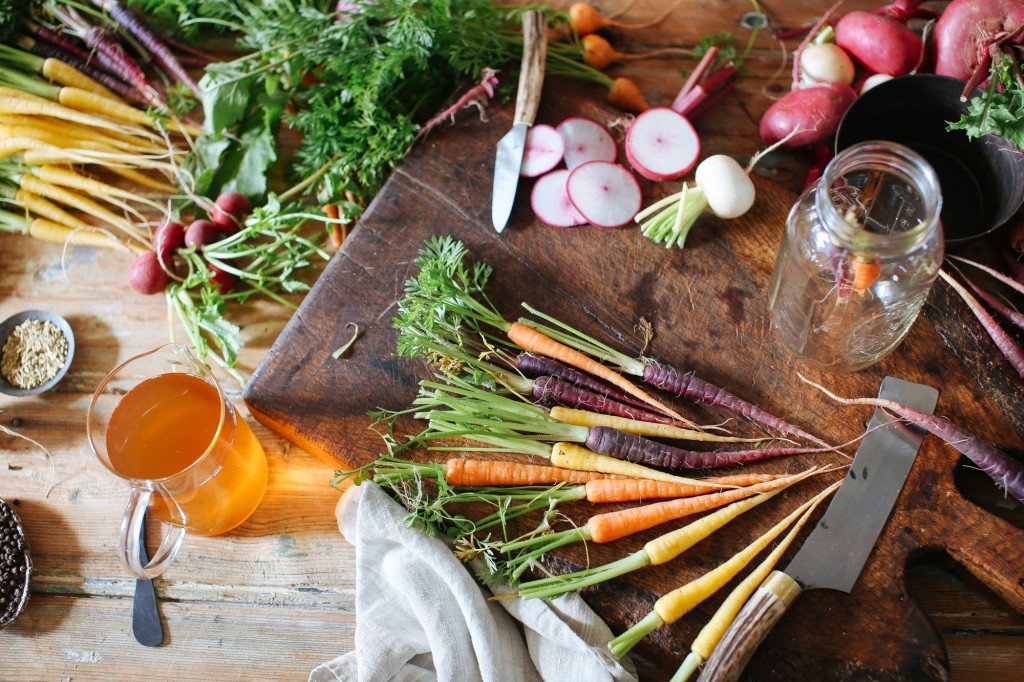
approx 460g fresh carrots
1 cup apple cider vinegar (can be substituted with white wine vinegar if you prefer, but note pickling vinegar should be 6% acidity or more)
1 cup of water
1 tablespoon of salt
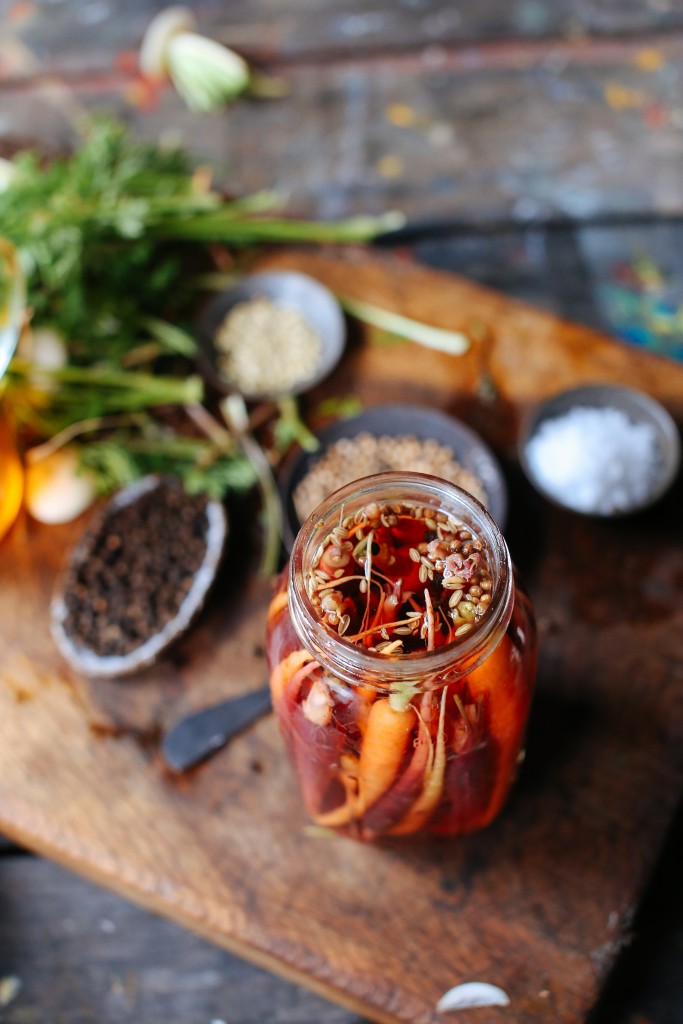
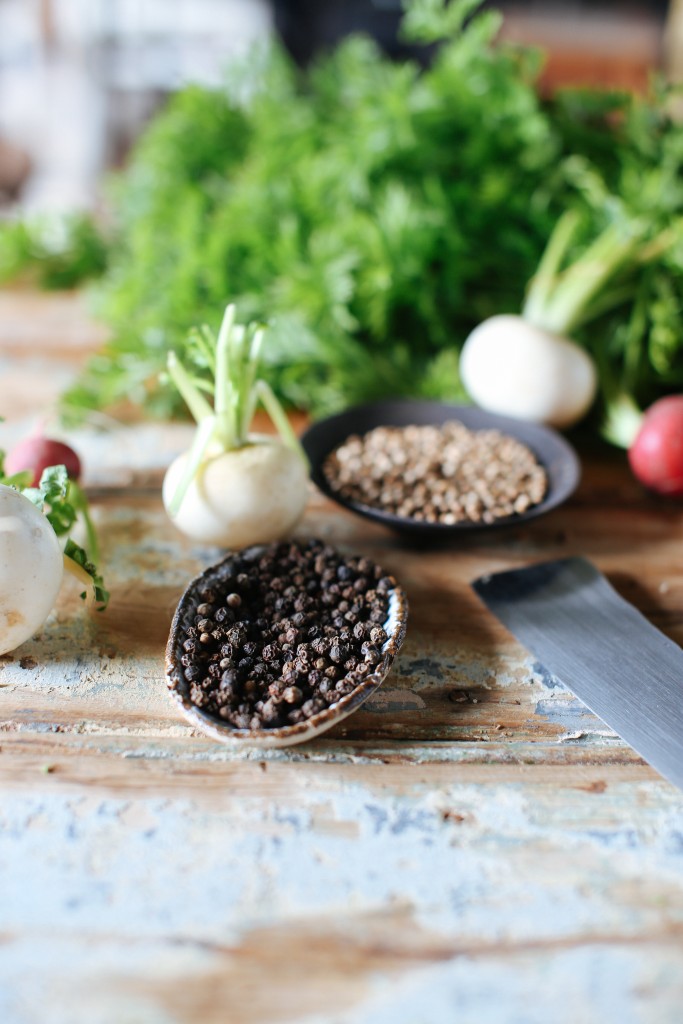
1 teaspoon of coriander seeds (I often have trouble finding dill seeds but many recipes use them and I imagine they’re lovely too)
1/2 teaspoon of black peppercorns
2 cloves of garlic
(of course you can spice them to taste. Other spices are fennel seeds, chilli flakes, herbs, etc)
In warm soapy water, wash and rinse the glass jars, non-plastic lids and metal knife or spoon (this will make sense later). To sterilise the jars, preheat oven to 120 degrees C, place them in the oven for 20 minutes. Prepare a small saucepan of boiling water and place lids and knife/spoon in the pot to sterilise also. Allow the jars to cool before handling them later in the recipe.
The canning process also resterilises the jars at the end of this recipe -have a large/deep saucepan filled with water (to boil) so that the jars you use will be submersed.
If you have baby carrots as I did on the day of the workshop you don’t want to be peeling them (you would very quickly have nothing left!) but you are welcome to do it if you have larger carrots that you want to quarter into thin sticks. Chop off the green tops (if they have them) about 1 cm from the top of the carrot and remove the outer stems (dirt always hangs in there), also chop off the little tail (baby carrots always have tails).
Wash the carrots using a clean scourer and gently scrub the surface of the carrots under the running water/in a water bath and rinse insuring all the dirt is gone (no one likes the feeling of crunching into grit). I often lightly blanch the carrots also by placing them in a bowl and pouring bowling water over them. Let them stand for 1-2 minutes then drain and rinse with cool water.
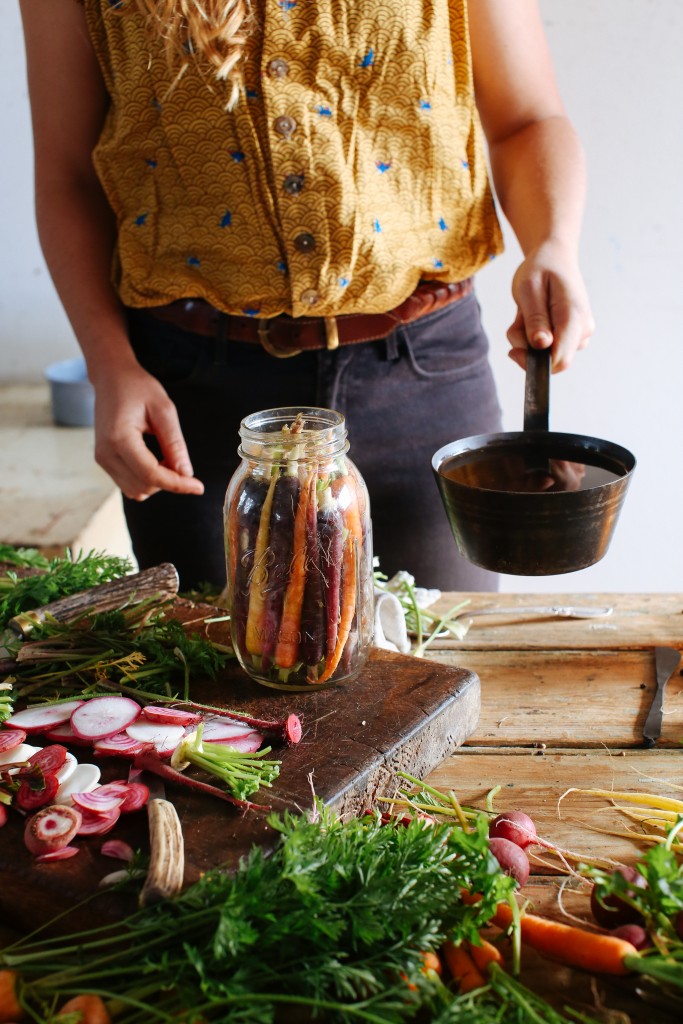
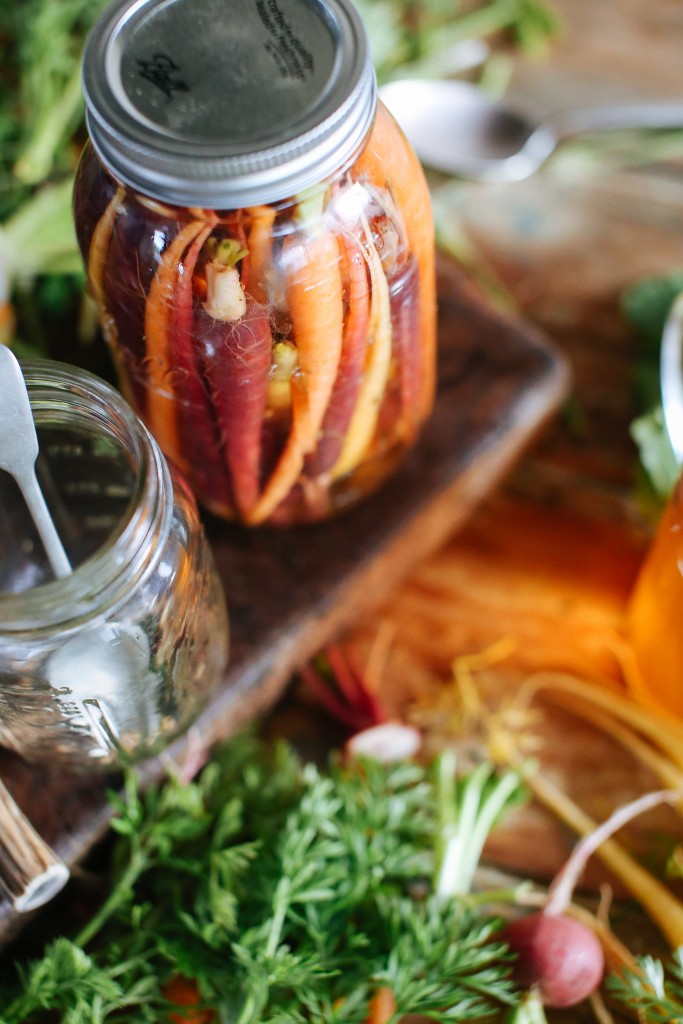
In the two jars, divide the spices (coriander, peppercorns, garlic) and pack the carrots head to tail into the jars. You can pack the jars pretty tightly, as things tend to loosen when the vinegar goes in and you don’t want floating carrots (for aesthetics, this has no implications on eatability!). With baby carrots, packing them head to toe means they fit better as the are often narrower at the tail.
Combine the vinegar, salt and water in a small saucepan and bring to the boil. Pour the boiling brine into the jars over the carrots leaving approximately 1-1.5 cm from the top of the jar (called headspace). Gently tap the jar on the bench to loosen bubbles, using the knife, gently move some carrots to dislodge some of the more “sticky” bubbles. Refill to 1-1.5 cm if needed.
Wipe the top of the jars with a paper towel and do up lids. Place jars into the boiling water (canning saucepan) to process for 10 minutes. Using tongs, remove the jars, wipe dry and allow to cool. As the jar cools, the lid should be sucked in, indicating successful sterilising and allowing the jars to be stored in a cool, dry place for a year. If carrots are thin, they won’t need as long curing and will be ready to eat pretty much immediately (hooray). The thicker the carrot, the longer you should wait for curing. Of course it will take some time for the spices to infuse, so as rule of thumb I give it a month (and often break that with 1 jar at 2 weeks because I can’t help myself!)
To make a quick pickle (no canning/sterilising process), blanch the carrots for a little longer, about 3 minutes. Follow the above recipe but instead of placing the jars in boiling water, place them in the fridge and allow it to pickle for 24 hours before using. These carrots will last a week or 2.
So now you’ve had your pickling party and left your jars of precious preserves sit for a bit, what to do with them? Here are a few ideas….ah pickles, you ferment for me.
- Toss in a leafy salad with a few boiled potatoes.
- Layer in killer sandwich, sliced and topped with rocket then ricotta, labne or goat’s curd.
- Use them to brighten up a winter abundance bowl. Yum, I love the thought of this.
- Make up some nice big croutons and serve them with some fresh, fried eggs, thinly sliced pickled carrots and lots of finely chopped parsley.
- Don’t waste the carrot tops, make a pesto with them (it will last roughly the same amount of time as the pickle) and maybe toss this through some nice al dente pasta and serve with sliced pickled carrots and lots of parmesan on top.
- Serve them with a nice deep braised meat dish, say lamb shanks. The sharp, crunchy pickles will be a perfect foil to that rich, tender meat.

This is great, Sophie. I do lots of pickling but we generally eat them faster than I can make them so I have never worried too much about long term storage. My tomatoes are almost ready to harvest, though, and my cabbages aren’t far behind, so I’d like to try canning. I have two questions, if you don’t mind. Firstly, what’s the purpose of boiling the liquor before pouring over the veg (and the consequences if you don’t do it!)? Also, when putting the jars in the canning pan should they be fully submesrsed, with water over the top of the lids? Thanks a million, June.