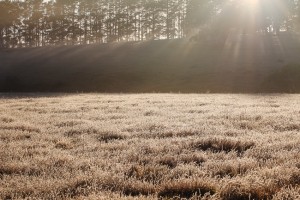
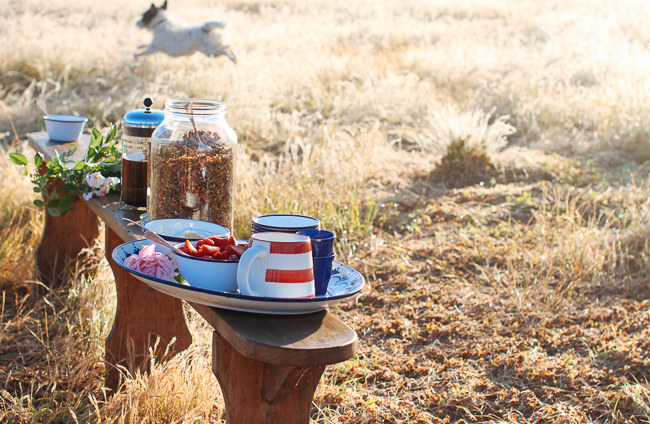
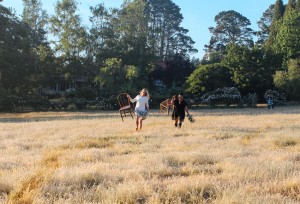
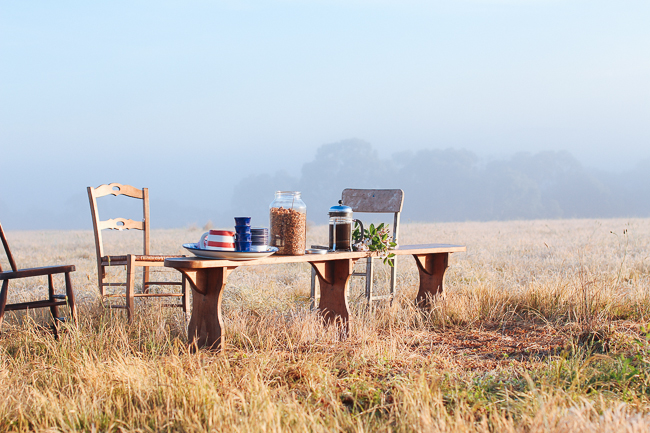
Day two of the Local is Lovely workshop began bright and very early. Fired up by our photography teacher Luisa’s completely infectious enthusiasm, we met at dawn and each carried a chair, bench, jug of coffee or stack of bowls out through the dew and early fog into a field just by the house.
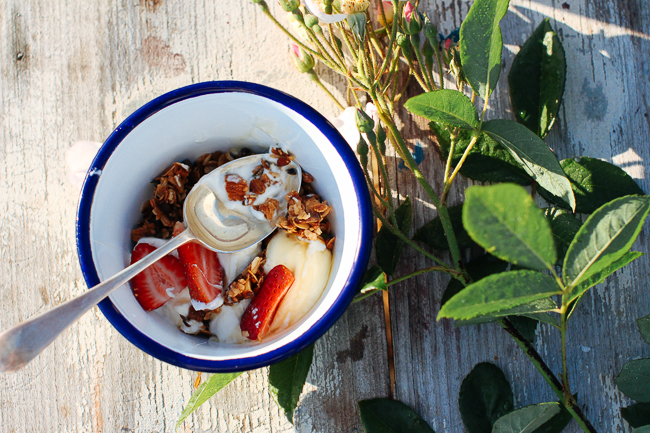
With sunrise breaking through a row of Radiata pines and our small group of early risers pouring coffee and sharing out granola with yogurt and berries – it was the best, and I have to say, most photogenic breakfast I’ve had in a long time. Probably ever.
The granola recipe was one from my book, it’s full of honey, nuts and spices, lasts for ages and is really great over yogurt, even ice cream and as I found out on the weekend – served with sweet pickles.
Honey Granola
I make this recipe all the time. The kids take little bags of it to school for morning tea (nut free), I have it over yogurt for breakfast and it’s also great as a crumble topping but in this case, cook the fruit on it’s own and sprinkle with granola before serving. Makes about 7 cups.
5 cups rolled oats
1 cup shredded coconut
1/2 cup sunflower seeds
1/2 cup sesame seeds
1/2 cup almonds, roughly chopped (or any other nut)
1 tsp vanilla extract
1tsp ground cinnamon
1tsp ground ginger
Pinch of salt
50ml sunflower oil
1/4 cup brown sugar
150ml honey
Preheat oven to 140C. Combine the oats, coconut, seeds, almonds, spices and salt in a large bowl. Place the oil, honey and sugar in a small saucepan over medium heat and stir until combined. Set aside to cool for a moment then stir in the vanilla. Pour this mixture over the dry ingredients and mix well, ensuring that all ingredients are well incorporated. Spread across one large or two small trays and cook for 1 hour and 15 minutes or until the granola is a golden brown. Turn the muesli around a bit every 20 minutes or so to ensure that one side of the tray doesn’t cook faster and burn. Cool completely before stirring through any additions (dried fruit or chocolate chips). Then store in an airtight container.
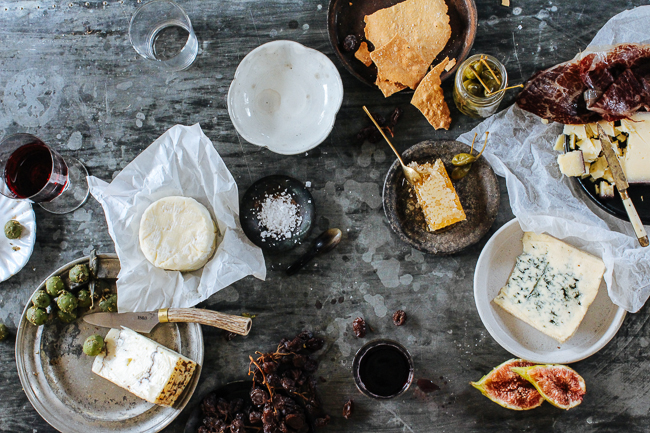
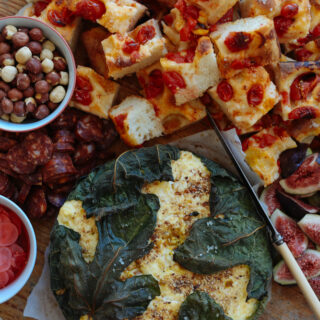
After breakfast we began the studio session by styling and shooting the cheese plate below. I know. So beautiful.
Our teacher in styling Stephanie Stamatis created the scene then Luisa gave everyone guidance on how to shoot it according to their own style and camera. The background was a slab of zinc that we all fell in love with. Such a fantastic surface, pretty much any food looks great on zinc, particularly raw meat as we found later in a mini-demonstration on shooting this often tricky subject.
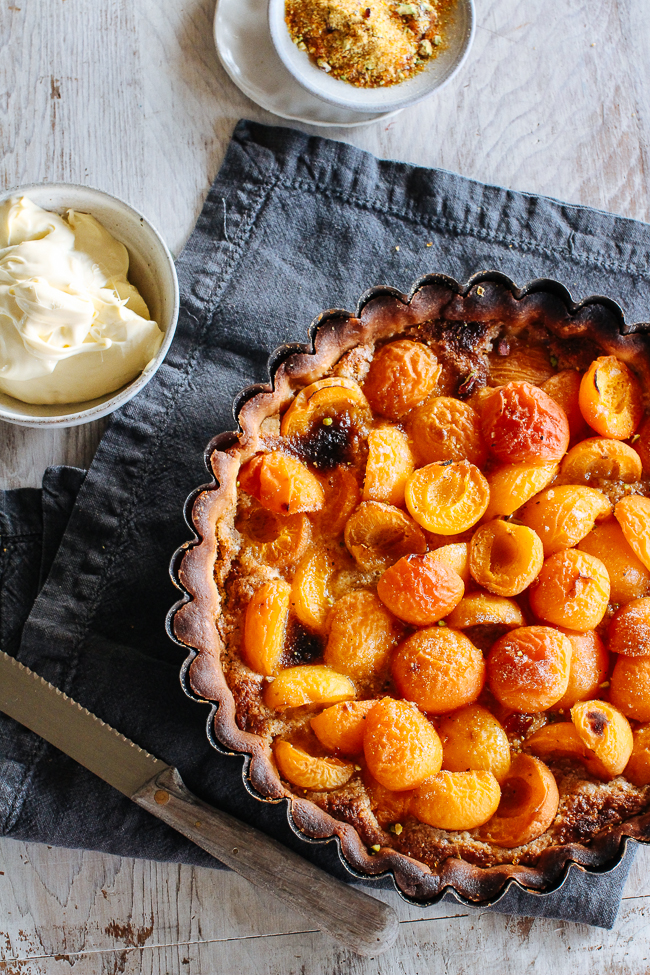
The day moved on, all to quickly. After the cheese plate shoot above, I brought over a few fruit tarts which were styled and shot by the group. My favourite was this vibrant apricot version (below). Again the recipe comes from my book, and again you can find it here below.
This recipe is perhaps my favourite sweet thing to make. It takes a little time and love but isn’t hard and can be adapted to suit any fruit that’s in season (I make it with fresh figs, poached quinces, cherries and stone fruit).
Frangipane fruit tarts
As mentioned above, you can make this with pretty much any seasonal fruit. I particularly love piling mine up with halved fresh apricots but on the day we also made one with cherries, strawberries and rhubarb.
For the pastry
150g cold butter
1 1/2 cups plain flour
1/2 cup icing sugar
1 egg
1 x quantity frangipane filling (recipe below)
2 cups apricots, halved
Place the flour and icing sugar in the bowl of a food processor and blitz for a moment. Add the butter and blitz until you have a coarse sand-like texture. Tip this out onto a work surface and bring together with the palm of your hand and work until you have a lovely, smooth disc of dough. Wrap this in plastic and pop in the fridge for at least 30 minutes. Roll out between two sheets of baking paper until about 5mm thick and drape into a loose-bottomed tart tin. Return to the fridge for another half an hour. The tart shell can wait for you in the fridge for up to a day at this point, or you can pop in the freezer and bake almost from frozen (just let it sit on the bench for 10 minutes before going into a preheated oven).
Blind bake the tart shell in a preheated oven at 180C, then spoon in the frangipane mix and smooth out. Press the apricots into the mixture, sprinkle with extra caster sugar and bake for 30 minutes or until the frangipane is golden brown and cooked through.
For the frangipane filling;
100 salted butter, softened
1/2 cup caster sugar
1 egg
3/4 cup almond meal*
1 tbsp plain flour
1 tsp vanilla extract
Preheat oven to 180C. Cream the butter and sugar together until pale and fluffy and add the egg, mix to incorporate well. Fold in the almond meal, flour and vanilla and beat until you have a smooth paste. This can be kept in the fridge or freezer until needed but it’s much easier to work with if you bring back to room temperature before spreading over the tart base.
*It makes all the difference to this recipe if you make your own almond meal. To do this, just dry-roast natural (skin-on) almonds in a moderate oven for about 10 minutes or until fragrant. Let cool then blitz in a food processor until coarse. Almond meal freezes really well so make a double batch then stash some away for next time.
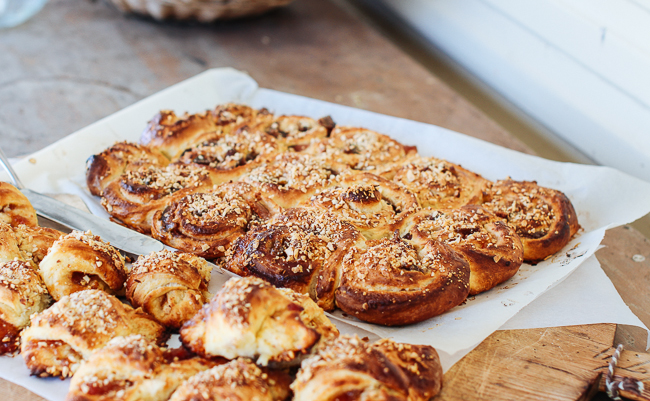
Buttermilk jam scrolls
And almost at the end of the workshop, we did one more demonstration session with pickles (here’s my recipe) before Stephanie and Luisa encouraged and helped everyone to choose from the food and prop ‘library’ on hand to style their own scenes.
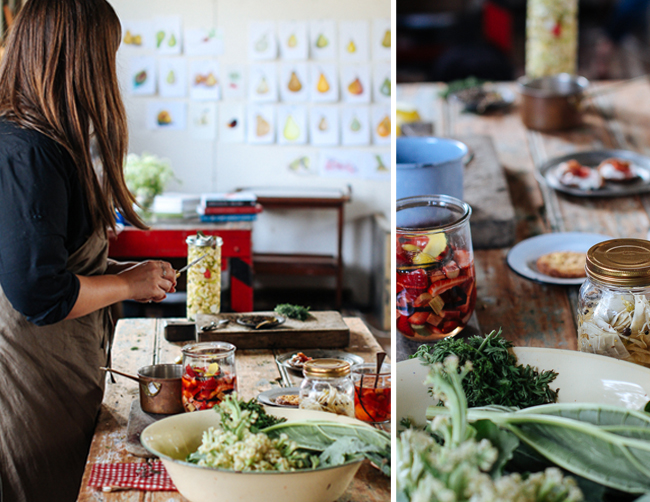
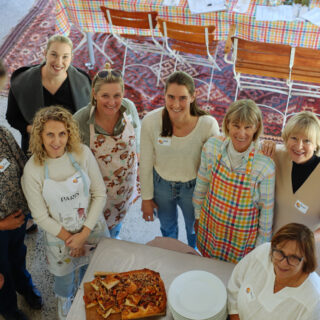
I think we were all a little sad to bring this workshop to a close. And in a slow trickle, we said our good byes as the group departed. Thank you to everyone who participated in this workshop, it was the best.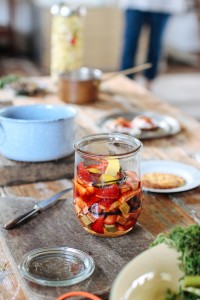




Looks so gorgeous Sophie! What a lovely weekend. x
Thanks Michelle – it was lovely, and lots of fun! Sophiex
Do I spy a hottie in a Bohemian Traders Dreamer Dress?
I’m always looking out for the important stuff! ehum ahahahh!!
Hope you guys are well Soph xxx
I think so Em!!! And what a hottie she is. Sxxx
Oh my goodness, how DIVINE!!!!!!!!!
Every single little speck. You must be thrilled. x
Gorgeous Sophie once again x
Loved these posts Sophie! Thanks so much for all the recipes, I am about to make the zucchini galette! Kathryn xoxo (www.kulinaryadventuresofkath.com)