St Joseph’s is a small school in the Central Western town of Molong. And its new kitchen garden is nourishing its 50-odd students on every level.
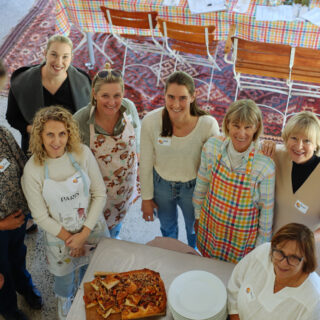
St Joseph’s has a terrifically hard-working P&F committee, and they’re are also a very handy lot. So when it was decided that their regular canteen should start up again after a long break, the committee knew they wanted fresh produce on the menu. And yes, they decided to grow it themselves, right here at school.
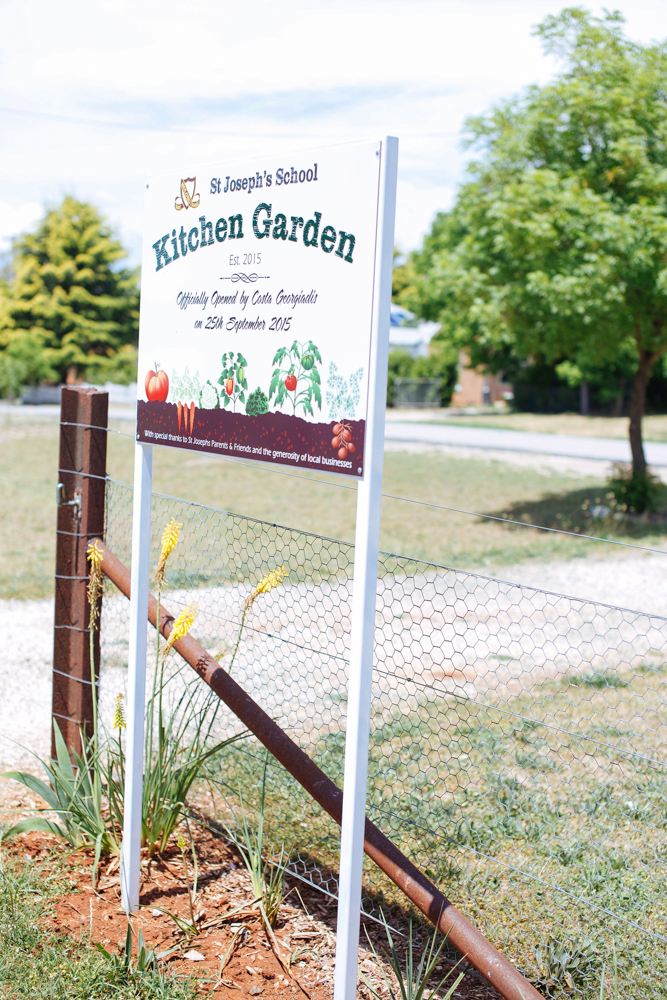
Plans were made to start a garden on the school grounds – from scratch. And as you’ll read below, it didn’t take long to prepare the beds and get the ball rolling. The kitchen garden was officially opened by the ABC’s Gardening Australia host Costa Georgiadis on 25 September last year and each St Joseph’s student now plays a part in caring for and enjoying their new project. Plus everyone gets to enjoy its spoils via their canteen orders. How good is that!
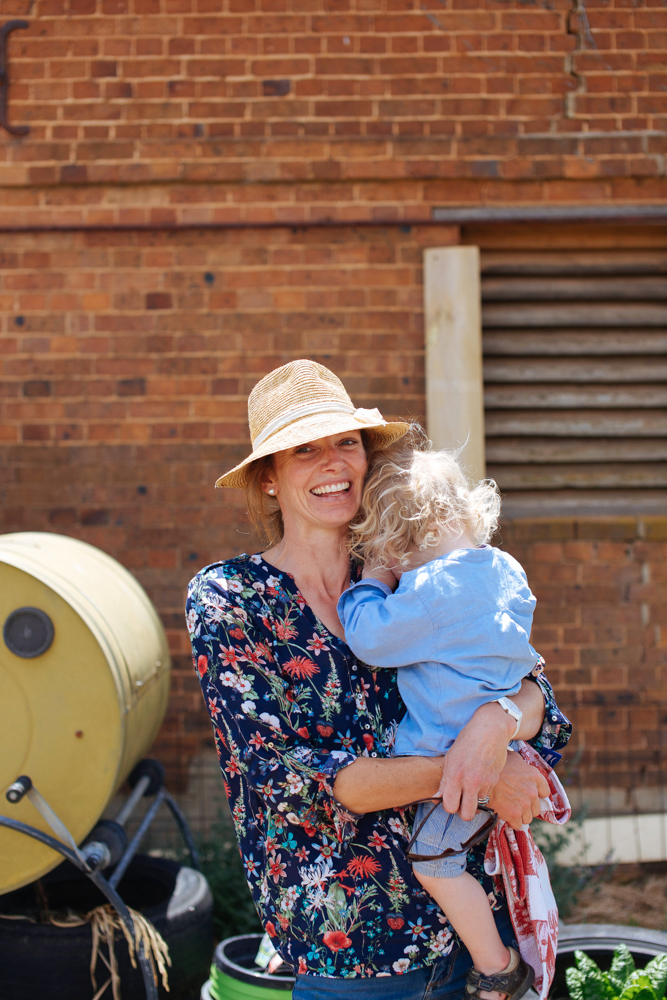
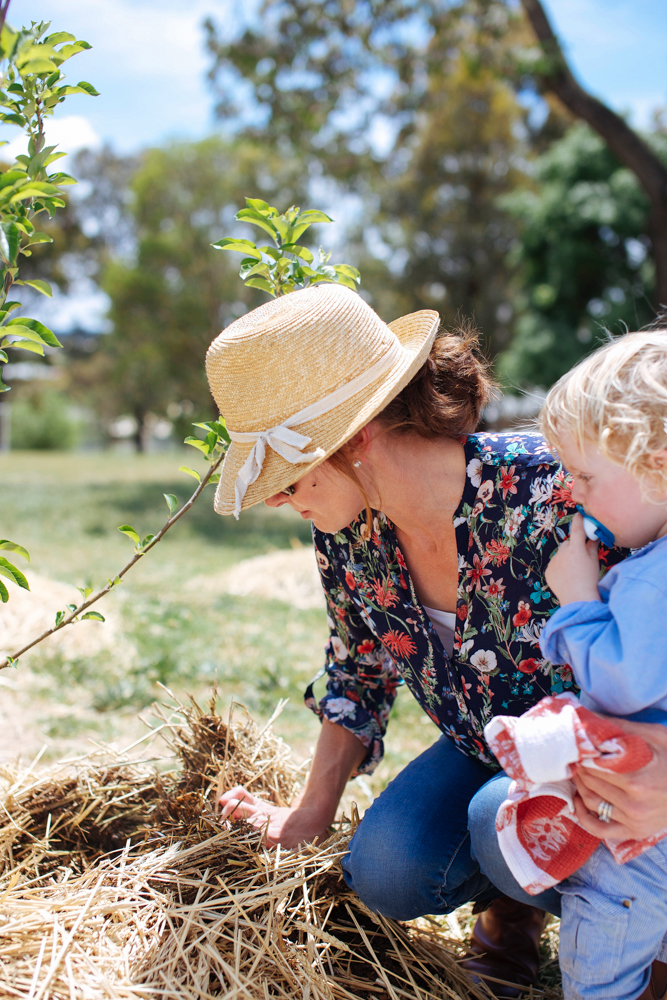
Here’s the story of the St Joseph’s kitchen garden, plus some really fantastic advice on how you can do something similar at your school, direct from Jane Shannon (pictured here), the woman who drove the whole thing. Jane also shares their canteen’s recipe for spinach cob loaf – an old school classic that deserves to get taken on every picnic, and will be the first thing eaten at every one. Plus the lemonade made in huge batches to sell at a recent school fundraiser (we took a couple bottles home and they lasted but a day).
1. Please can you give us some background to the school’s kitchen garden. How did it get started?
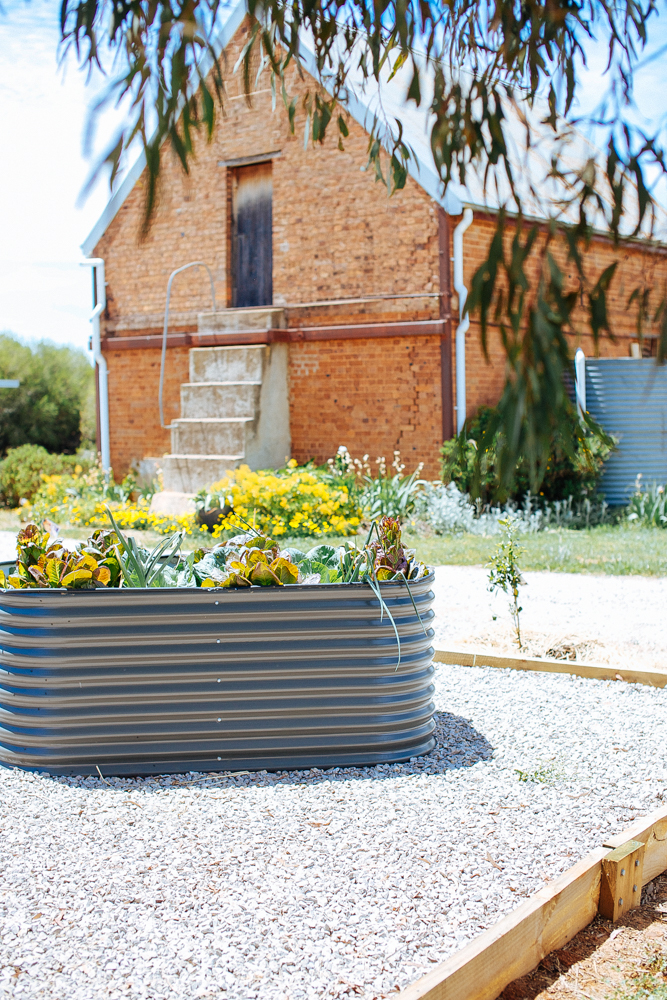
The P&F committee started talking about a kitchen garden in early spring 2014. This followed the re-establishment of the school canteen, which was started up again after a break of some years. We were keen to set the canteen up under the healthy canteen guidelines, and for us, that meant incorporating garden fresh food. We started the process by looking at a suitable location, design and what materials we needed. From there we got quotes, hunted around for grants to fund the project and put a plan and a budget together.
We also decided not to tap into the school’s town-water supply to maintain the garden. Instead, we installed a small water pump, purchased with some money we’d raised, to make use of the (at that time) un-accessible tank water from our school hall. One grant application was successful, and money from this went towards the purchase of our raised beds.
2. How long did it take to get up and running?
Discussing the “how, what, when & where” took a little while, as we wanted to make sure we got it right! During term four 2014 we worked out the logistics of the project, with the aim of taking delivery of the materials for construction in January 2015. A group of parents and children got together at the end of the summer holidays and constructed the garden – many hands make light work, so building the garden itself took a day from start to finish. Planting happened within the first few weeks of term one, and we had our first harvest by early winter.
3. What advice would you give other schools setting out to start a garden like yours? What did you find worked well and what didn’t!??
Being a small school, our P&F, and teachers work very well together, and we have a great band of merry workers… so I think that played a big part in making this project come together so quickly! My advice would be to plan ahead and seek out and apply for any grants which may apply in your school’s situation. Also, there are suppliers who will happily advise on the most appropriate heights and sizes of garden beds etc, and may have specials for schools. Local suppliers and tradies were also very helpful and generous to us with their time.
4. What has been the best part about setting up this garden? How have the kids reacted?
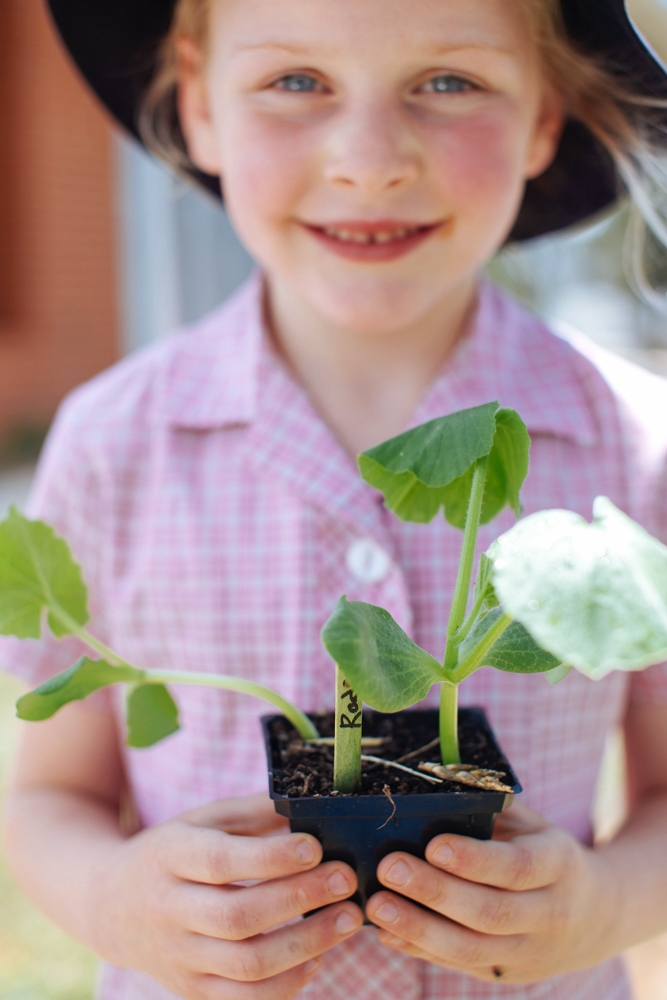
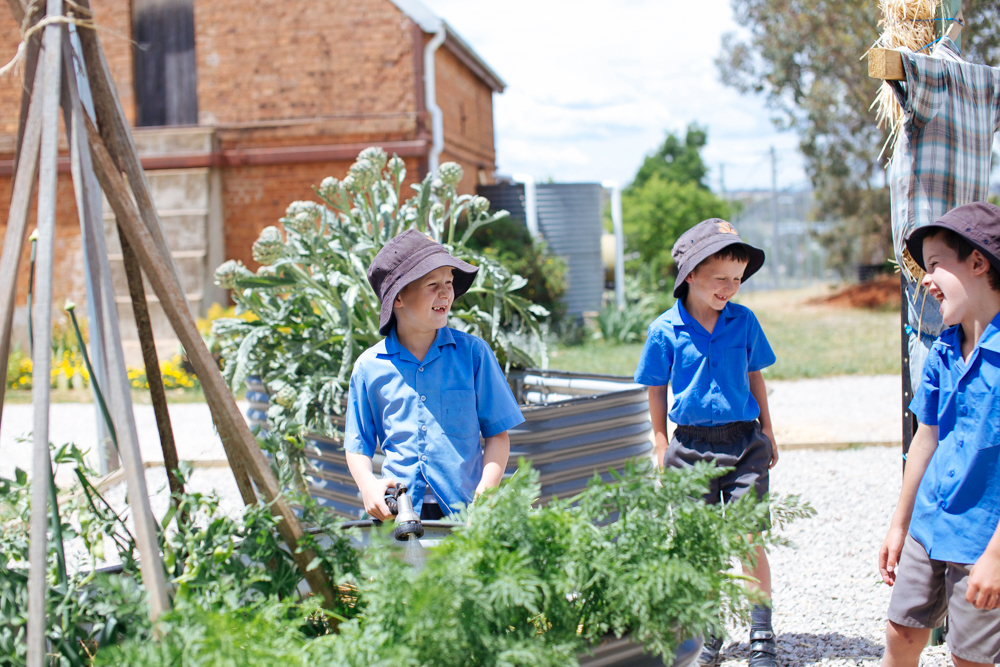
The best part about setting up the garden has been seeing the children enjoy getting their hands dirty, the excitement of finding wriggly worms and of course, the digging and planting, nurturing and then harvesting their very own produce. It’s wonderful to see them all hoeing in to raw vegetables like broccoli, heirloom carrots, snow peas and celery straight out of the garden.
5. Any tips on delegating jobs in a school garden?
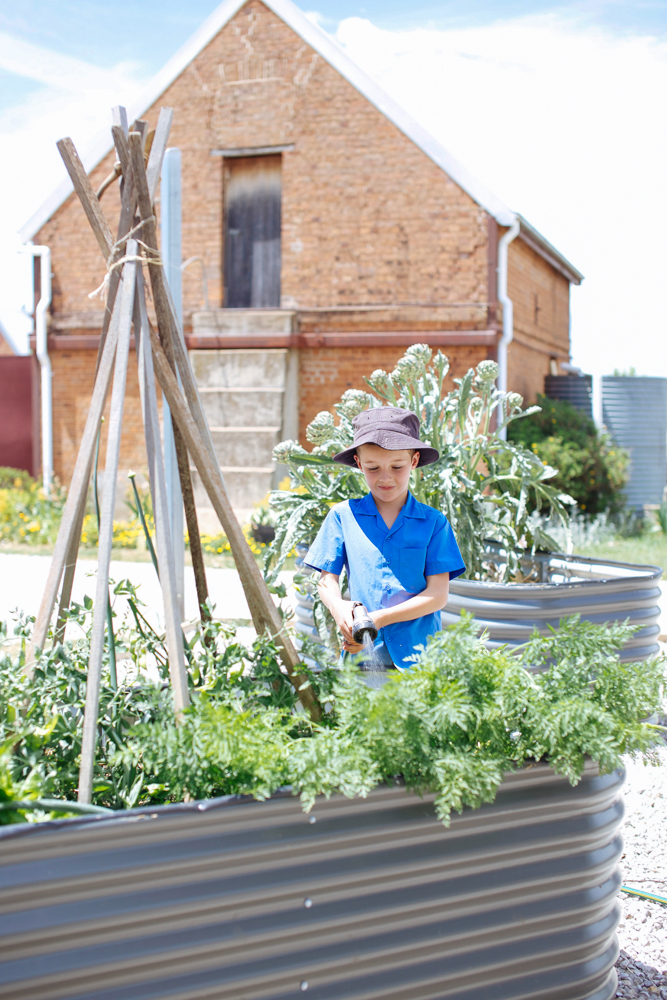
In our case, a jobs & responsibilities roster is part of school life, and watering the garden became part of this system. This means that there are children given the responsibility of watering each week, so watering doesn’t get forgotten about. Most important!
6. Can you tell us a bit about how you try to incorporate produce from the garden into the school canteen?
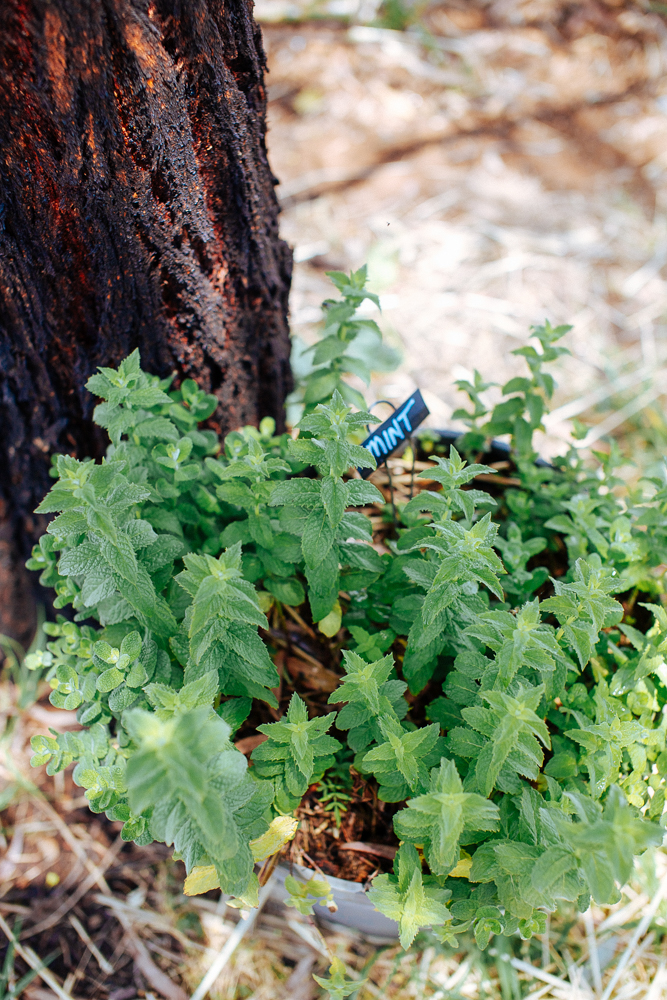
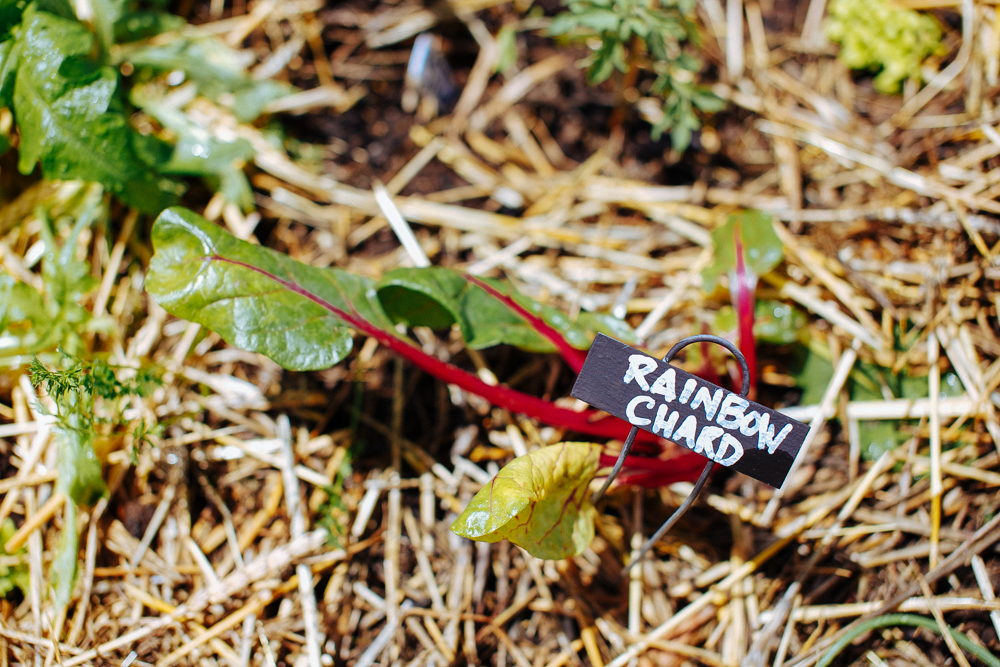
In summer this is easy! We have lovely fresh salads on the canteen menu, and we’ve had an abundance of rainbow chard, which has meant some delicious spinach cob loaves (even the kids who “don’t like spinach” think it’s delicious). Through the winter, there was bolognaise, nachos and homemade chicken soup on the menu, in which beautiful fresh celery, carrots and herbs were used. We also make a point of using the celery, carrots, tomatoes, cucumbers & radishes from the garden, chopping them up to put on the windowsill for the children to help themselves.
7. Why do you think it’s great for schools like yours to have a garden and involve the kids in it?
I think it teaches children so much about all sorts of things. As well as being a useful tool for the teachers, giving them scope for teaching things like science and numeracy, it’s a wonderful learning experience in terms of sustainability, being water-wise, and in teaching self-sufficiency. It teaches the seasonality of foods, and that everything has a beginning and an end. It gives children such a boost, knowing they can grow something they can actually use. It’s also brought people together (children, parents, teachers, friends, helpers) in a completely different scene, which has been terrific.
8. Tell us a bit about the garden’s opening and having Costa there, what a coup that was!
The garden opening was a fabulous day for the school & the local community. Having a celebrity in town is so exciting – especially one who is so enthusiastic as Costa! He arrived at around 10am and barely had time to don his well-known bib & brace overalls before being surrounded by keen gardeners, from toddlers to people in their 80s, all keen for a chat about their favourite topic. Meanwhile, the dads build a scarecrow (our Costa-crow!) and a good sized crowd mingled & browsed the garden themed stalls, whilst enjoying a glass of St Joseph’s Lemonade, morning tea and delicious fresh lunch served by our P&F.
Eventually, the crowd focused on the task at hand, which was to plant the “mini-orchard”. A selection of dwarf fruit tree favourites, selected for their suitability for children was planted, mostly all by Costa, with a band of merry little helpers. The children got in and did a lot of the hands-on.
We finished the day with the official opening of the kitchen garden, which involved a very funny, animated, and also moving talk by Costa, and a pair of golden secateurs from the cretaceous period! He focused on the wonderful legacy the older students are leaving behind as they move on to the wider world. A food garden is such a precious gift – generations of children coming through the school will benefit from for years to come.
9. You mentioned that Costa showed you all a great way to plant the dwarf fruit trees, can you share his advice?!
Costa had asked us to prepare the site, and have lots of organic matter, including manure and hay for mulching. We were able to supply him with mountains of sheep, cow, chicken and even mouse (from Doolittle Farm) manure! He was most impressed!
• Holes were pre-prepared with gypsum, ag-lime and dynamic lifter.
• Costa back-filled the holes a little, and added his special ingredient, Rock Dust.
• Trees were placed into the now shallow holes so that their bases where just above ground level, and planted under layers of mulch and manure. This formed a “cocoon” around the tree, to help conserve moisture and nutrients. We will keep adding to these layers in time.
• After planting, trees were well watered and given a dose of organic liquid fertiliser, courtesy of Baa Baa Brew.
10. And Jane – please…would you mind sharing your spinach cob and lemonade recipes too?
Here are recipes of a couple of school favourites. The lemonade was made especially for the garden opening, from lemons gifted mostly by grandparents’ gardens. We hope to make some school lemonade in future, from the little Myer lemone planted with Costa…
St Joseph’s Lemonade
(Makes 4 Litres, or a little over 5 x 750ml bottles)
2kg sugar
28g Citric Acid
800ml lemon juice
Zest of 2 lemons (slice thin strips of the skin, so it is easier to remove later)
2.4 Litres of Water
1. Bring water, lemon juice and zest to the boil, then add sugar, stir until dissolved
2. Take off the heat and add the citric acid, stir to combine
3. Allow to cool and remove lemon zest
4. Sterilise bottle and strain the lemon juice into bottle
5. Store in the refrigerator and dilute with cold water (and lots of ice!) to serve
Spinach Cob
Made for (and devoured at) the 2015 sports carnival in June
1 large cob loaf – given lack of proximity to the bakery, I use the “No knead” bread recipe attached.
500g fresh spinach or silverbeet/chard leaves, blanched and well drained
30 g spring vegetable/French Onion dried soup (veggie stock powder will do)
1 cup whole egg mayonnaise
1 cup light sour cream
1 very finely diced red onion
1. Prepare and combine the “wet” ingredients together the day before, if possible
2. Hollow out the cob loaf and cut or tear the bread into strips
3. Place the mixture into the cob loaf and serve with the bread.
In winter, this recipe is extra good after 10 minutes or so in a moderate oven or pie warmer, with the bread strips lightly toasted. In summer, serve with fresh garden vegetables such as capsicum, snow-peas, beans, celery & carrot for a delicious variation.
No Knead Bread – Recipe altered slightly for busy mothers!
Makes one x 680g loaf
3 cups plain or bread flour, more for dusting
¼ teaspoon instant yeast
1 ¼ teaspoon salt
1 5/8 cups water
Start preparing the dough the night before you want to bake it – or very early in the morning (it needs 12 – 18 hours to rest). In a large bowl, combine flour, yeast and salt. Add the water and stir until blended. Dough will be shaggy and sticky. Cover bowl with plastic wrap (or a dinner plate). Let the dough rest 12 to 18 hours at room temperature. Dough is ready when it’s surface is dotted with bubbles.
At least half an hour before you wish to bake, preheat your oven to 230 ̊C. Put a 5 to 8 litre heavy lidded pot (cast iron, enamel, Pyrex or ceramic) in the oven as it heats.When oven is hot, flour a work surface and remove dough from the bowl (sprinkle more flour over the dough before handling). Quickly shape the dough into a cob-shape and drop it into the hot dish. Cover with the lid and bake for 30 mins, then remove lid and bake another 15 or so to go crusty and beautifully browned.
Remove when done and cool on a rack.












Hi Sophie,
The Spinach Cob Loaf looks delicious. Im a bit unclear however about the amount of water that is required for the No Knead Bread.
Pia
Lovely article Sophie – great pics