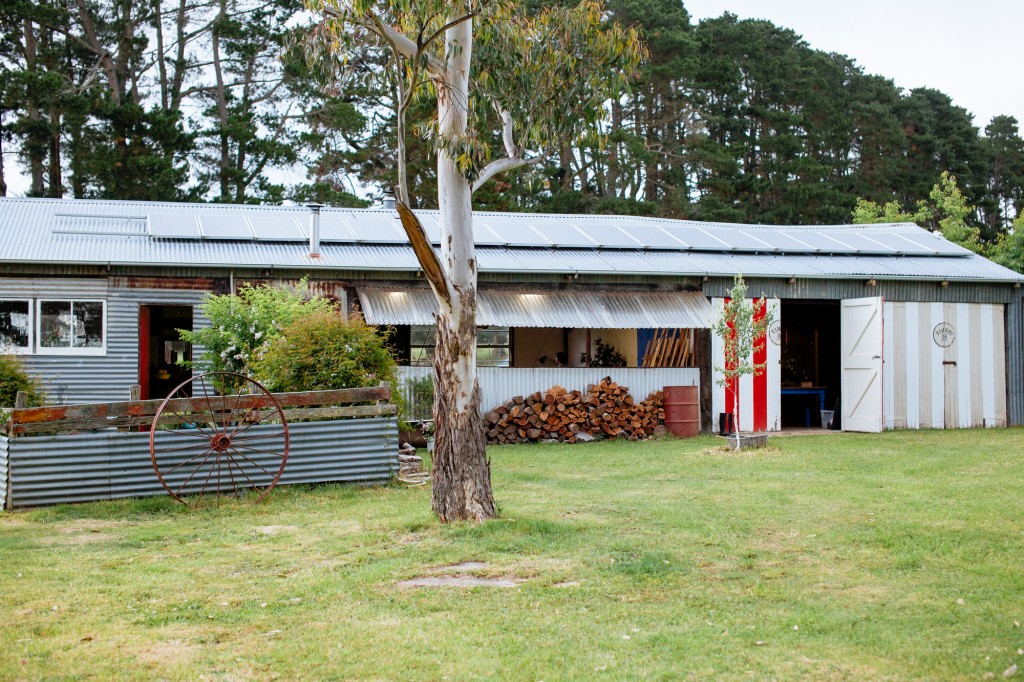
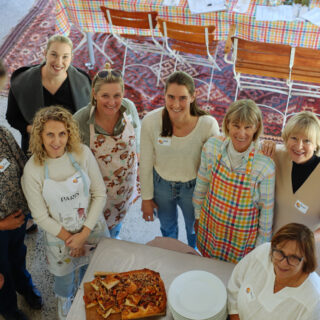
Here’s a little story about collaboration, creativity, conviviality and connection. It’s about what we* aim for when organising Local is Lovely workshops; bringing people together in the beautiful location that is Kimbri farm, feeding them healthy, seasonal and delicious food and sharing inspiration, ideas, skills and making new friends to go on and collaborate with long after the workshop finishes.
*we being myself and photographer and all-round top person Luisa Brimble,
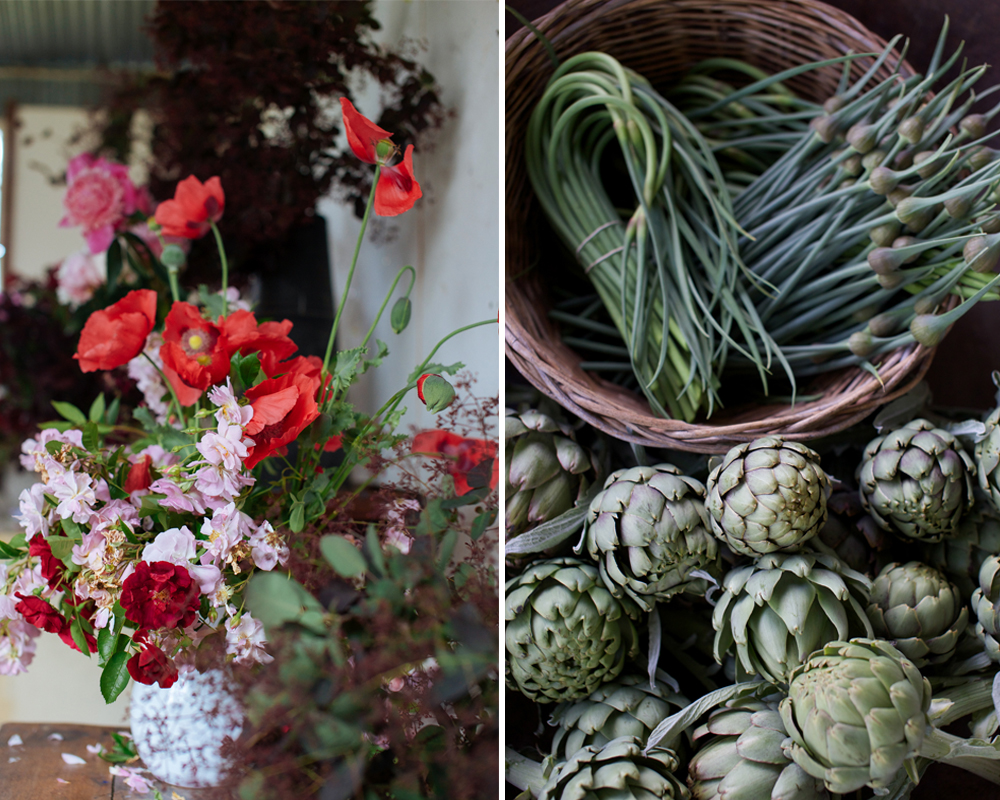
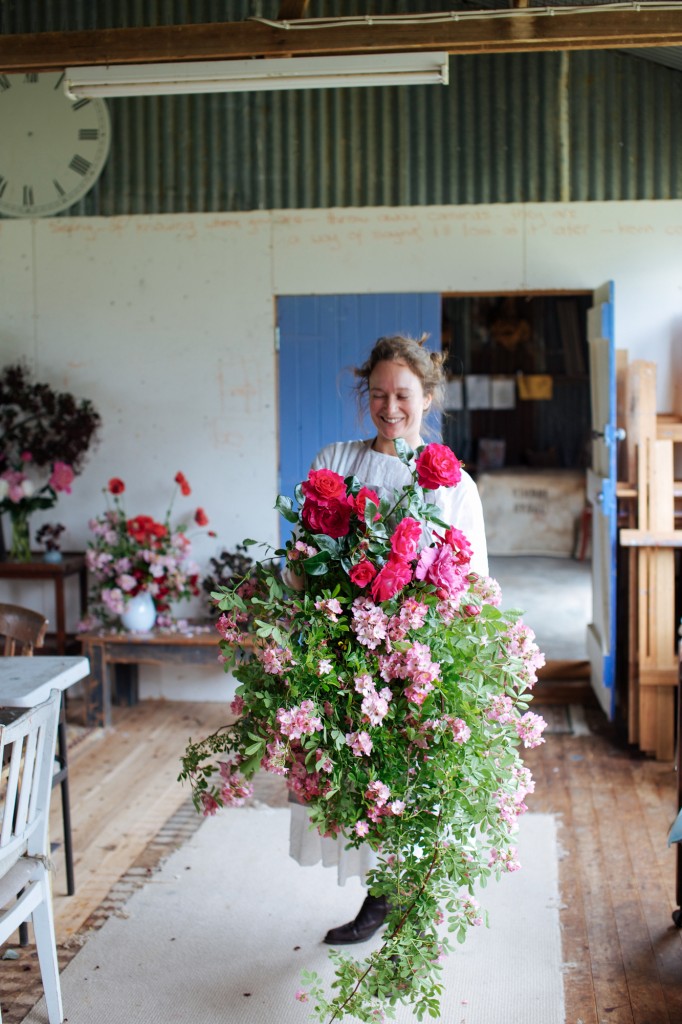
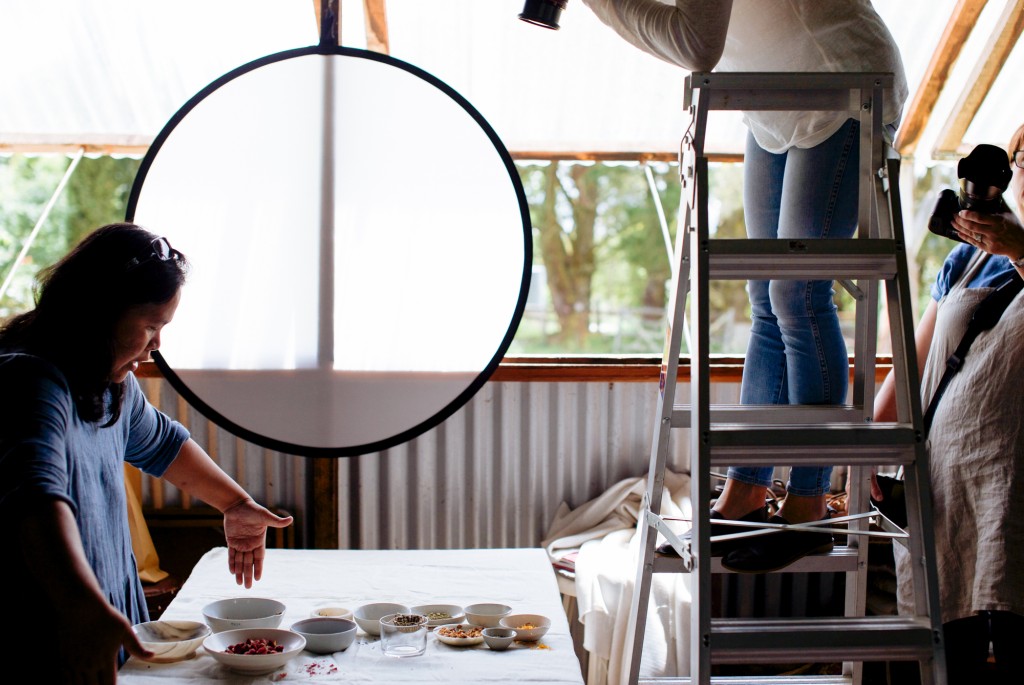
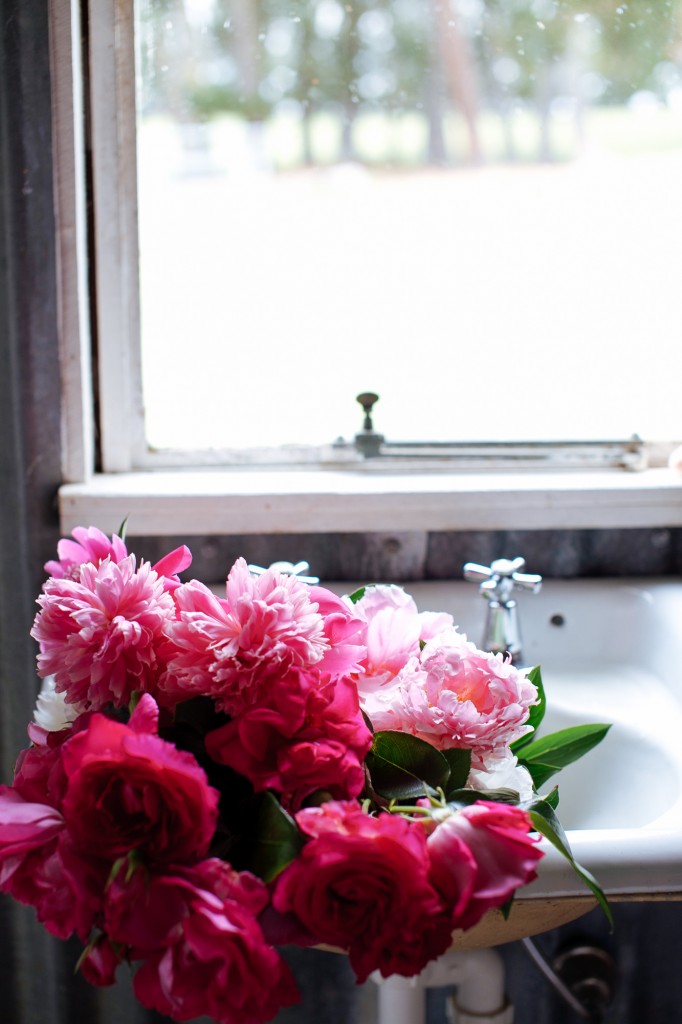
Two weeks ago we held such a workshop with our super-star guest Aran Goyoaga of Cannelle et Vanille and she shared the teaching podium, so to speak, with our other super-star teacher Luisa Brimble. I was there doing my hosting/cooking thing and supporting all of us was an all-star cast of helpers including my very dear friend and very talented photographer Pip, Orange-based chef and creative force-field Lily Hahn-Stevens, style queen and all-round lovely creature Annabelle Hickson of The Dailys who filled the studio with her signature arrangements of lush, drooping petals and foraged finds, photographer and videographer Hannah Mccowatt who also was a gun in the kitchen and last but totally not least, my Mum, artist Annie Herron, who (with Dad of course) has created this incredible garden and home that we are lucky enough to have access too, but also ran a fantastic session on perspective and sloooooowing down the photography process so we really see.
So here below is a collection of my favourite images and recipes from the workshop. Thank you so much everyone who came along and contributed to the two and a half days we spent together. And thank you especially to lovely Flore Vallery-Radot of The Flo Show. She came bearing craft beers, a huge and delicious chocolate tart, her favourite props and lots of good kitchen chat (she even cleaned our oven-top while chatting to us after dinner, the woman is unstoppable!). If you are considering coming to one of our workshops next year, PLEASE please read this post of hers, it’s pretty much the best testimonial I can imagine. Thank you lovely lady – and watch this space for a workshop at her family home in France one day….
And just to gild the lily; clever clever Hannah Mccowatt has just finished a video recap of the workshop which is just beautiful and made very proud of the team and experience we have created here.
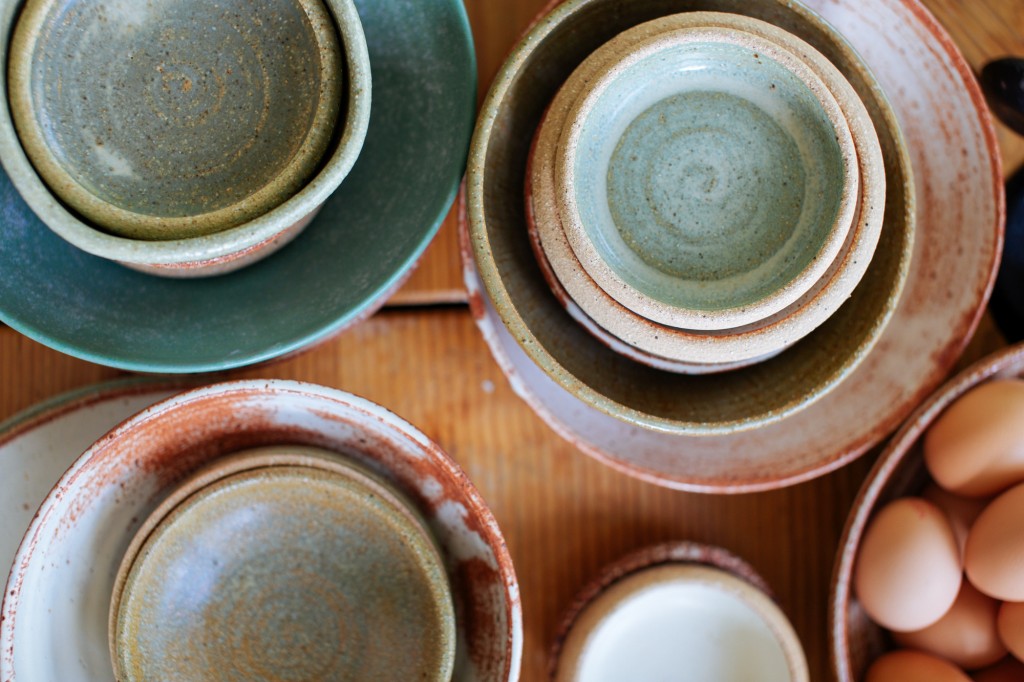
Also, a quick mention of the beautiful bowls we ate from throughout the workshop – a few weeks ago I invested in a collection of pieces from Melbourne-based potter Sarah Schembri and I’m so happy to be able to use Sarah’s bowls and plates at our workshops and now our Farm Kitchen lunches. Honestly everything looks and tastes that much better on these pieces and what I love most about them is that they aren’t too precious. Well they are precious of course, but still functional, usable and tactile.
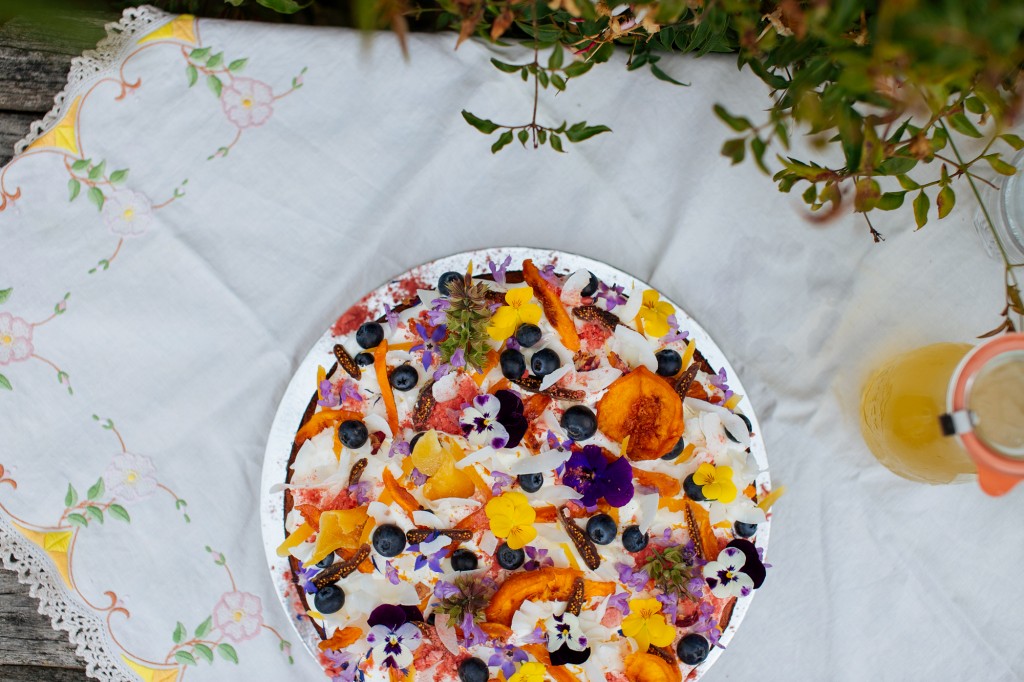
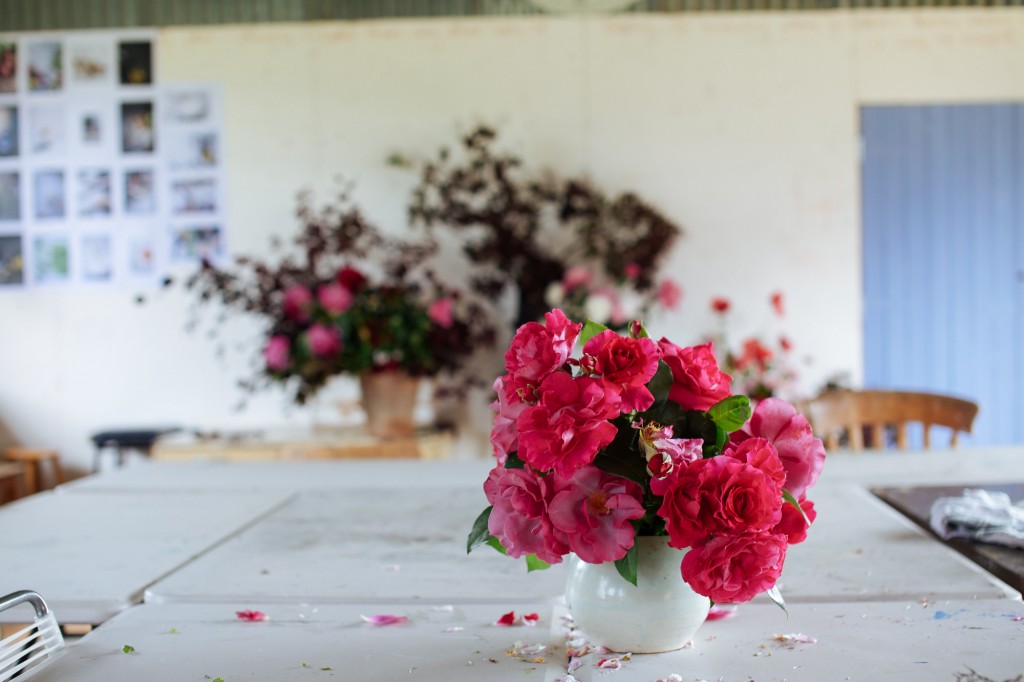
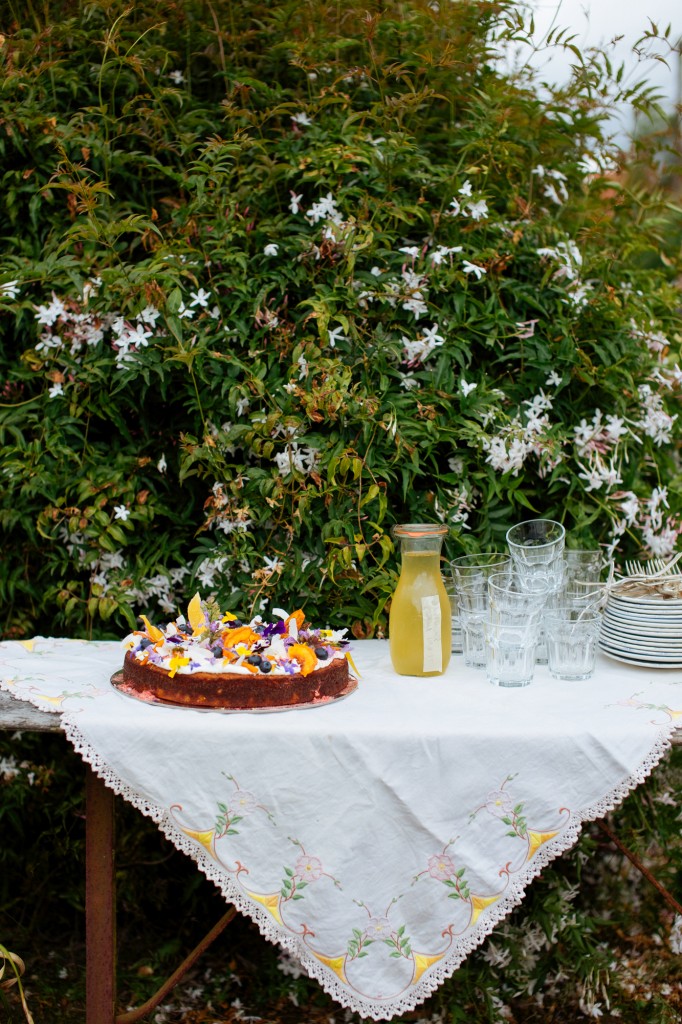
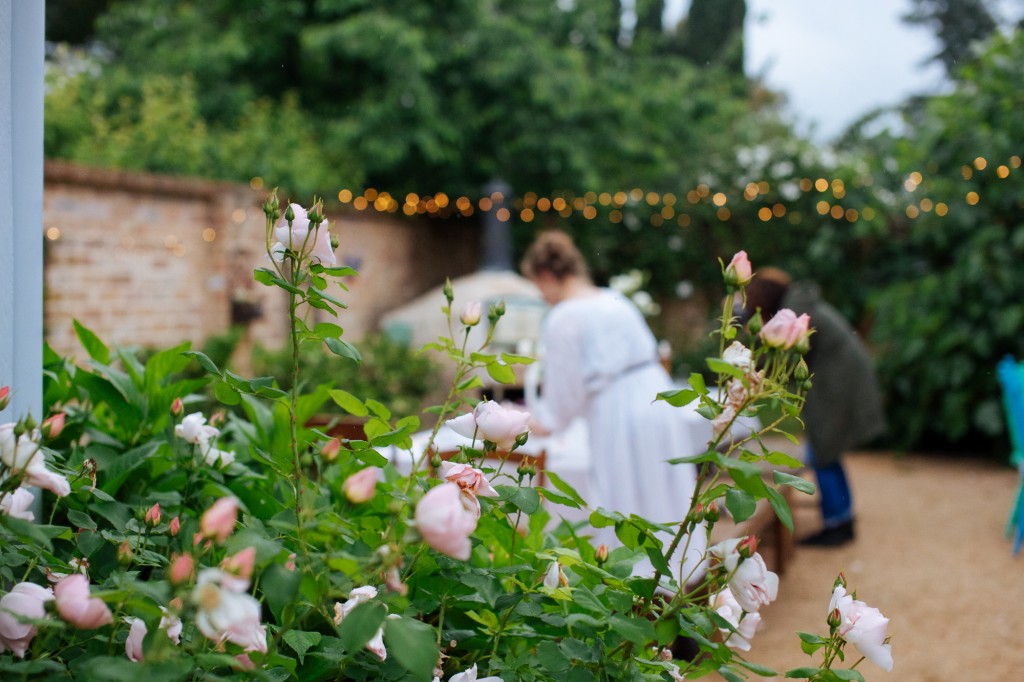
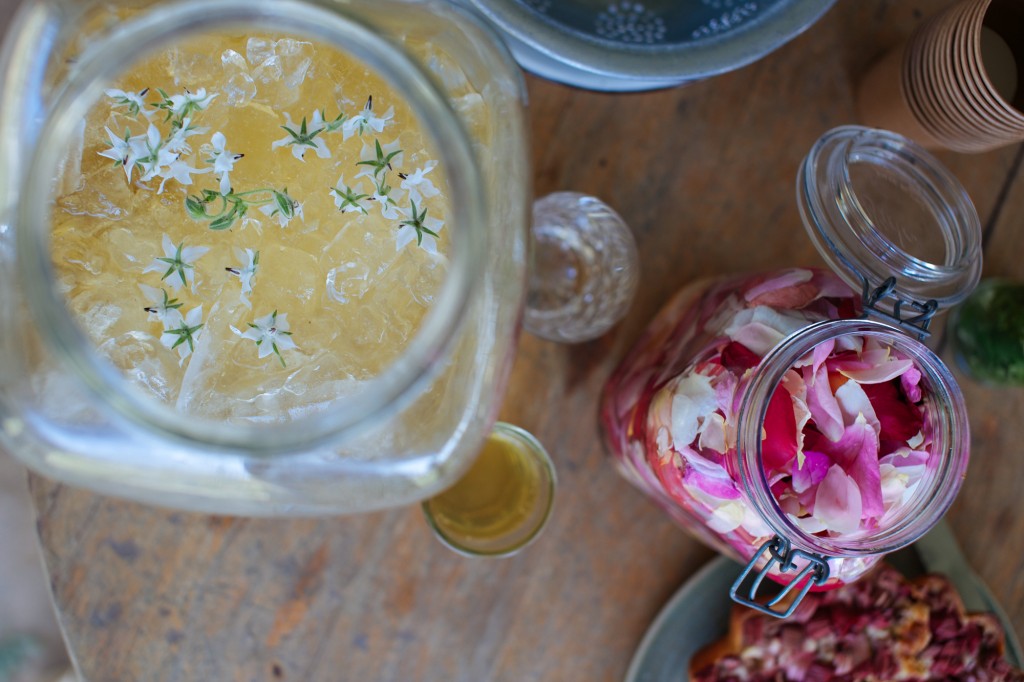
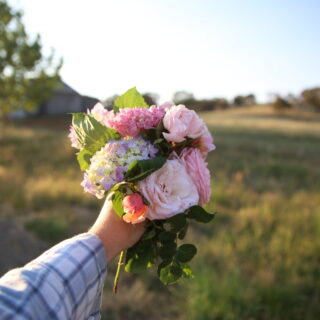
So after Annabelle (above) had woven her floral magic in and around the studio (thanks in big part to Mum’s amazing rose garden), we set out a welcome afternoon tea by the woolshed studio and as everyone arrived, poured elderflower cordial and shared this incredible cake by Lily, recipe below.
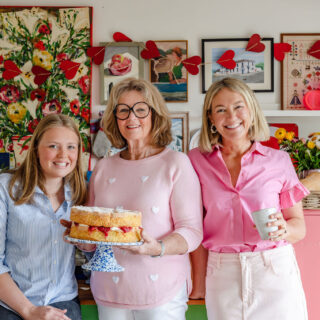
Lily’s orange coconut, almond and peach cake
This is a real-showstopper, plus it’s gluten free and un-iced, lasts for up to a week when wrapped tightly. Thank you Lily for sharing, it’s a really beautiful recipe. Serves 10.
1 orange
100g coconut oil, melted
170g golden caster sugar
4 eggs
150g coconut flour
150g almond meal
80g all-purpose gluten free flour
6 x dried peach cheeks (sliced up)
A pinch of salt
Start by placing the orange in a pot of water and simmering for two hours or until completely soft. Place in a blender, skin and all, and blitz for a few seconds. Preheat oven to 165C and grease and line a 26cm cake tin. Melt coconut oil and combine with orange puree, sugar and eggs and mix until well combined. Add remaining ingredients and fold together. Mix in the dried peach pieces then spoon into lined cake tin and smooth over the top. Bake for 45-50 minutes or until a skewer comes out clean. Let cool for a few minutes in the tin then turn out to a rack to cool completely.
Italian meringue icing
220g caster sugar
150g water
40g glucose
170g egg white
A pinch of cream of tartar
1 pinch of salt
Start by combining the egg white, cream of tartar and salt in the bowl of an electric mixer with whisk attachment – don’t start whisking yet though! Now combine sugar, water and glucose in a saucepan and mix, once the mixture comes to 117C on a sugar thermometer, begin whisking the egg white mixture and by the time the sugar mixture reaches 121C, the eggs should be forming soft peaks, this is the time to turn the speed down and slowly start pouring the hot sugar mixture into the mixing bowl a constant stream. The heat of the sugar will cook the whites while keeping a fluffy, smooth mixture. Once all the sugar mix has been incorporated into the egg whites, whisk for a couple more minutes on low speed. The hot mixture needs to cool down to be stable enough to use before taking of the mixing machine.
This step will take at least 10-12mins. Feel with your hands on the out side of the mixing bowl to feel if it has cooled enough to reached room temp. Once it has its set and is ready to use, your Italian meringue should be a soft shiny marshmellowy texture, that can hold its peak when formed. Spread over the cool cake and decorate with fresh berries, dried fruits, edible flowers, toasted flaked coconut, fresh orange zest, or toasted almonds – or whatever else your heart desires, and enjoy!!! 🙂
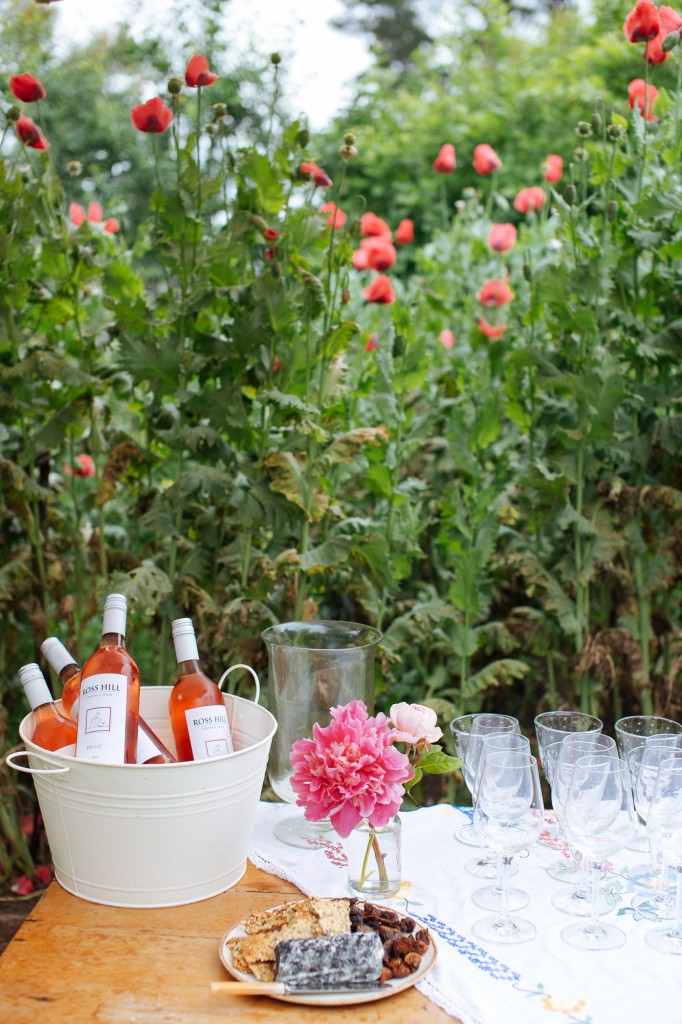
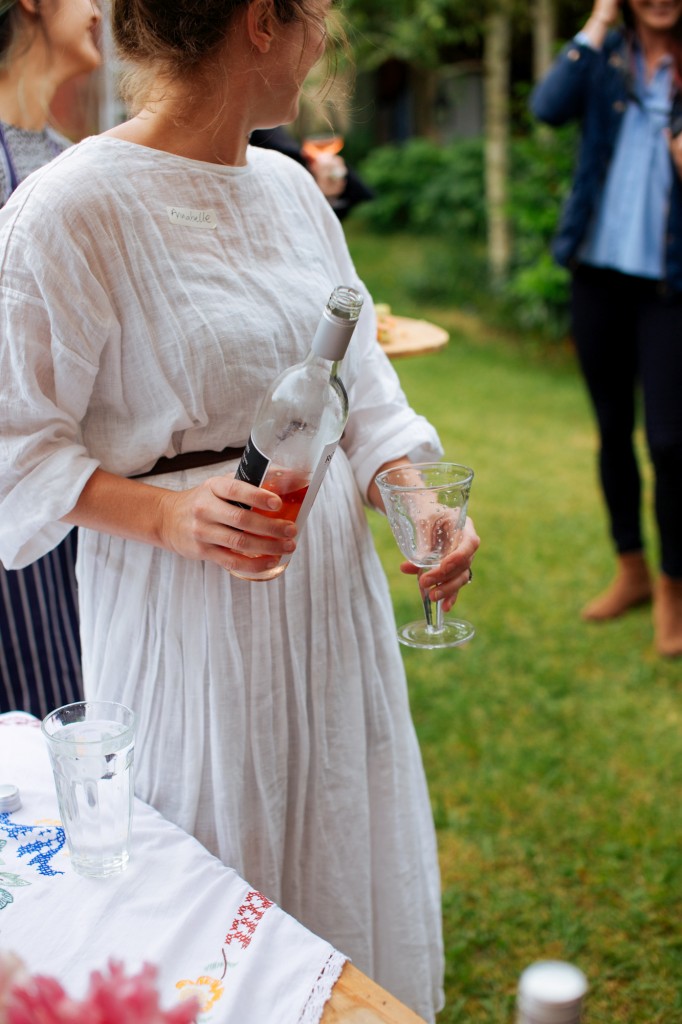
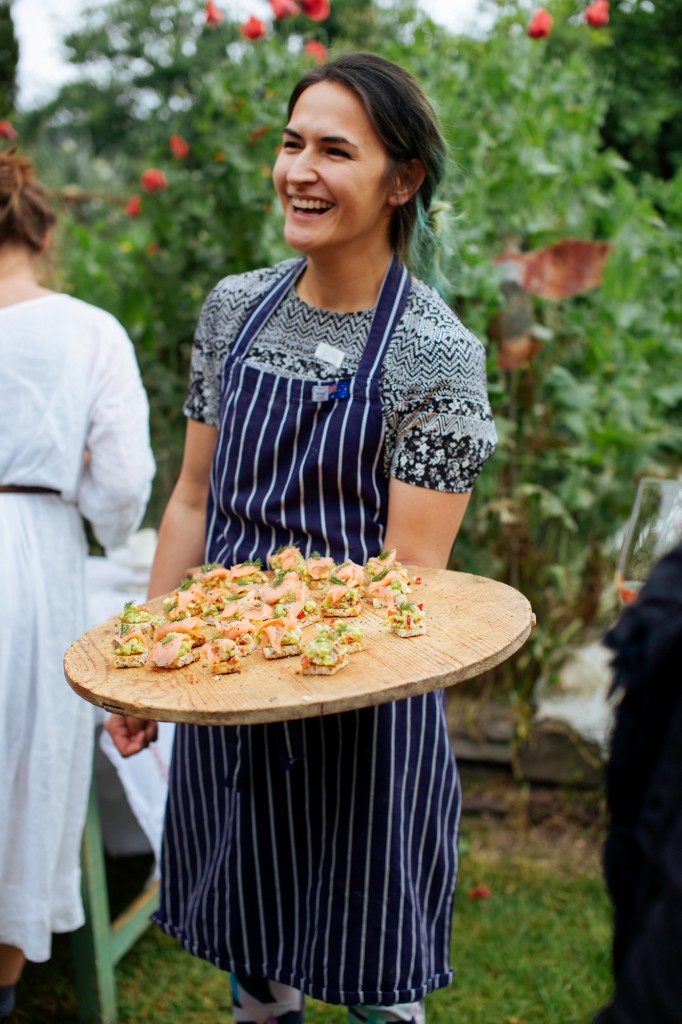
After a first session with Aran and Luisa, we celebrated the workshop’s kick-off with a little aperitif in the garden – my favourite chilled rose from Orange winery Ross Hill with Jannei goat’s cheese and an avocado salsa on gluten-free croutons by Pip. And that’s when it started to rain.
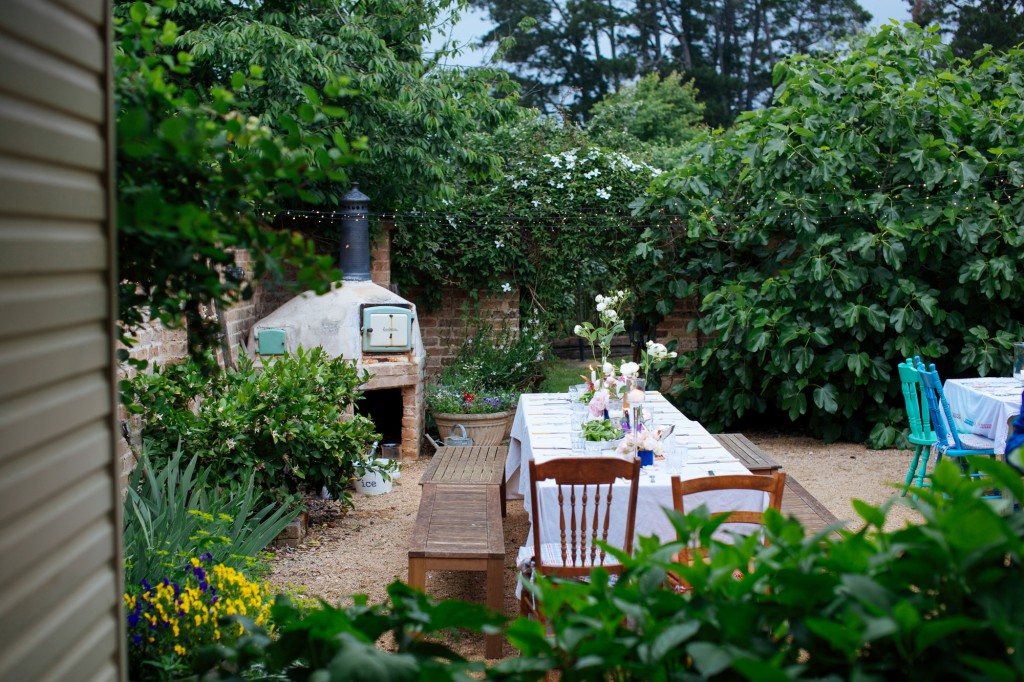
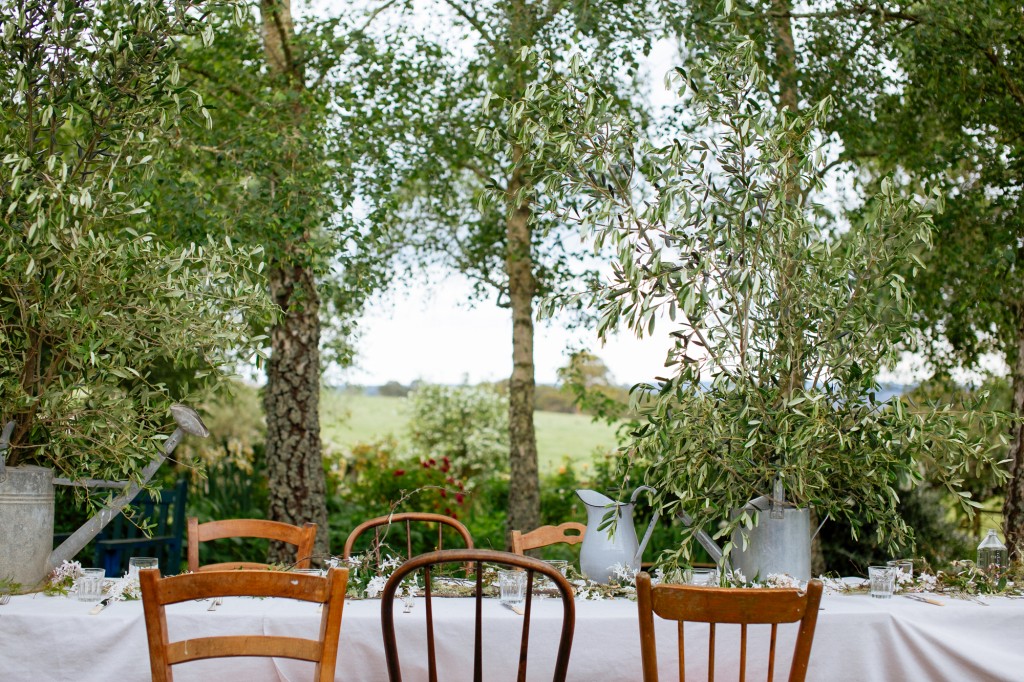
Optimistically we’d set a dinner table in the courtyard and despite the looming rain clouds, were hoping to share a dinner of slow-cooked lamb with braised chick peas and salsa verde under the fairy lights. We did manage to do this but under umbrellas and with slightly wet bottoms – but hey, we got some nice photos and then retreated to the living room and an open-fire for chocolate mousse on our laps.
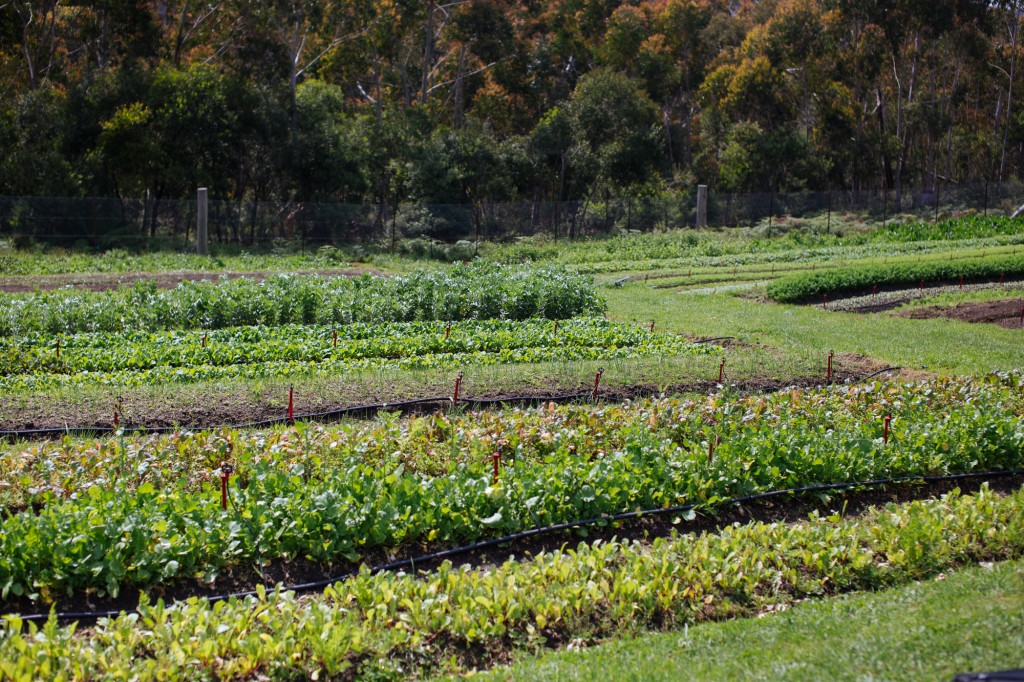
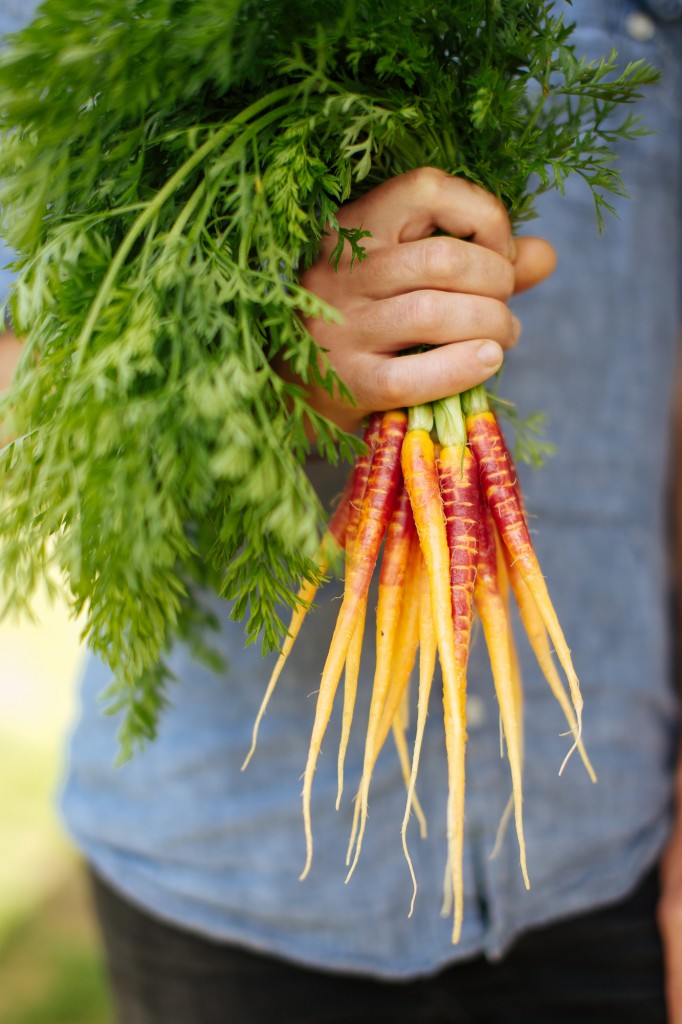
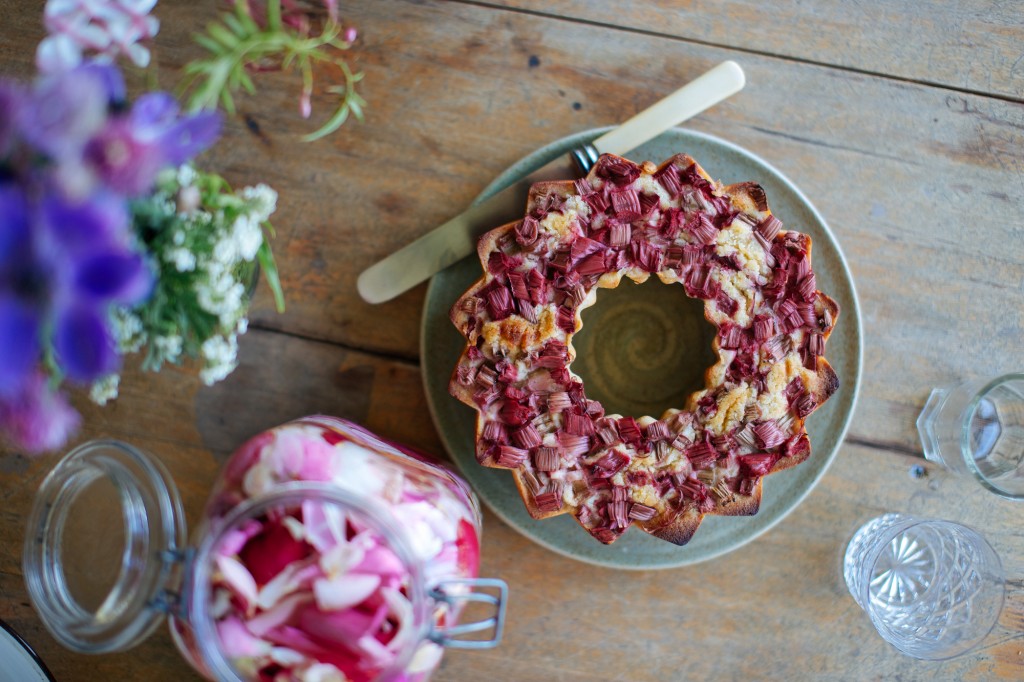
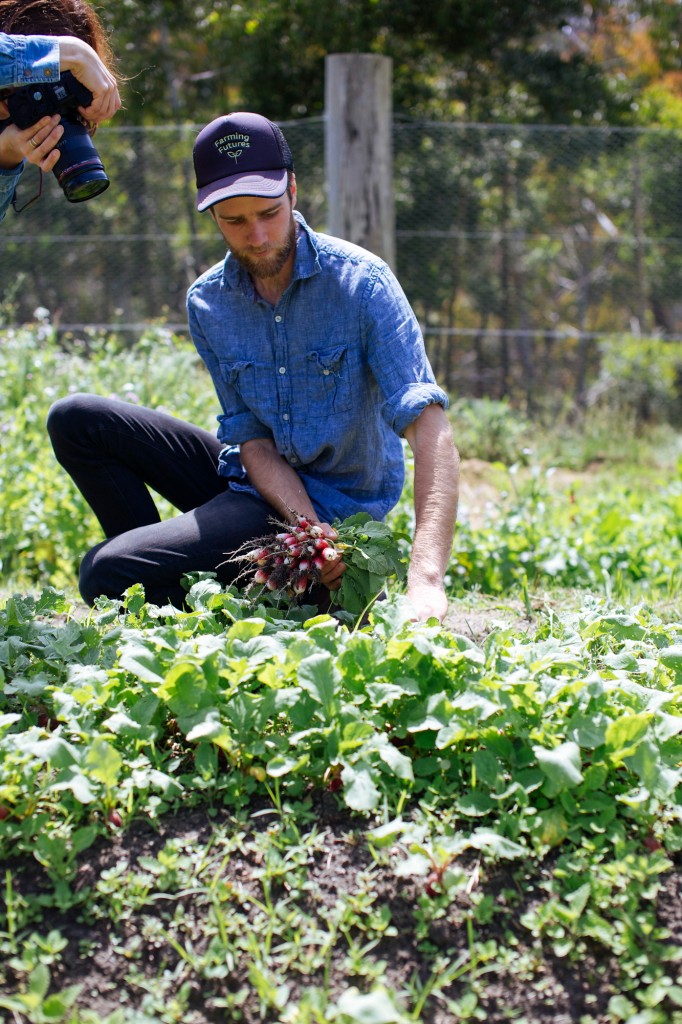
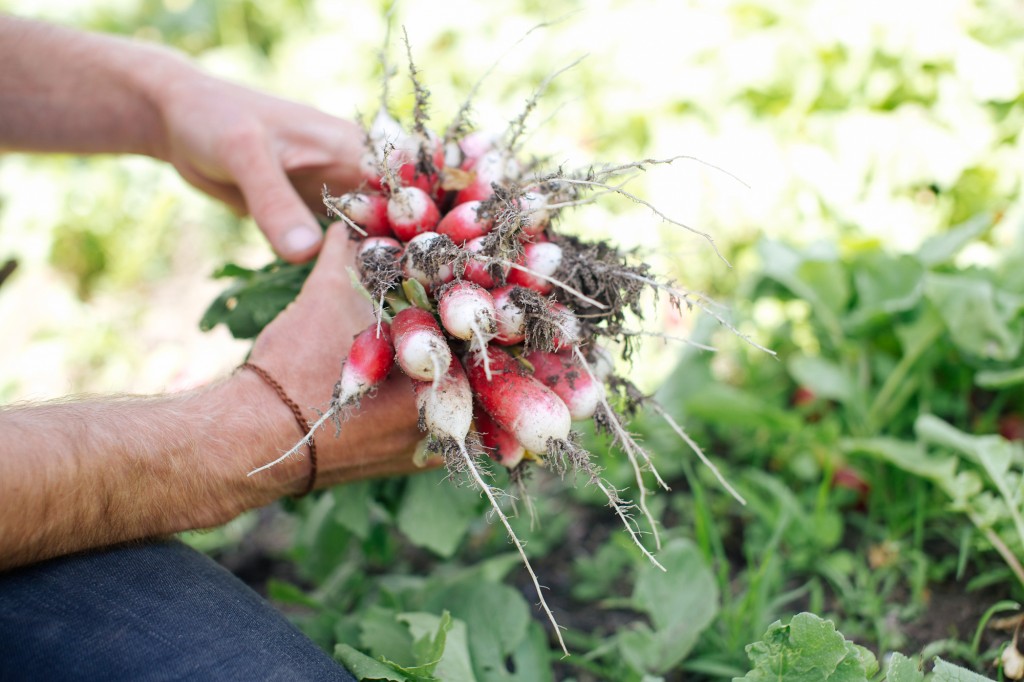
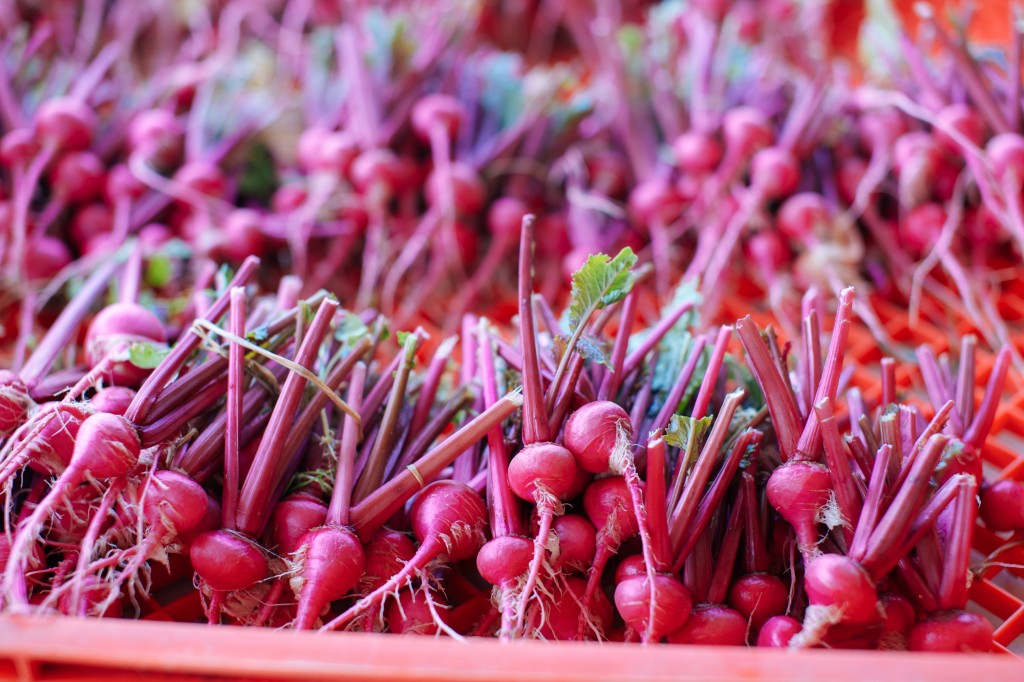
The next morning right after breakfast, we made a fresh rose syrup (recipe below), packed a basket of cake and iced tea and travelled up the Blue Mountains to visit Erika and Hayden of Epicurean Harvest. These guys have a beautiful small market garden just near Blackheath and spoke to us all about how they farm, who they grow for and were excellent hand models as they harvested and held bunches of multi-coloured carrots, radishes and other good things from the ground. Morning tea was an almond, rose and rhubarb cake from Aran’s book (recipe here), drizzled with fresh rose petal syrup (recipe below).
Apple, ginger and borage iced tea
4 green tea bags
1 cinnamon stick
1 x 4cm piece ginger, roughly chopped
3 cups cloudy apple juice (preferably from The Nashdale Fruit Co!)
2 tsp raw caster sugar or to taste
1 handful borage flowers
Pour three cups boiling water into a bowl with the green tea bags, cinnamon and ginger. Let cool completely then discard the tea bags and mix the tea in a large jug with loads of ice, cloudy apple juice and borage. Sweeten to taste and serve.
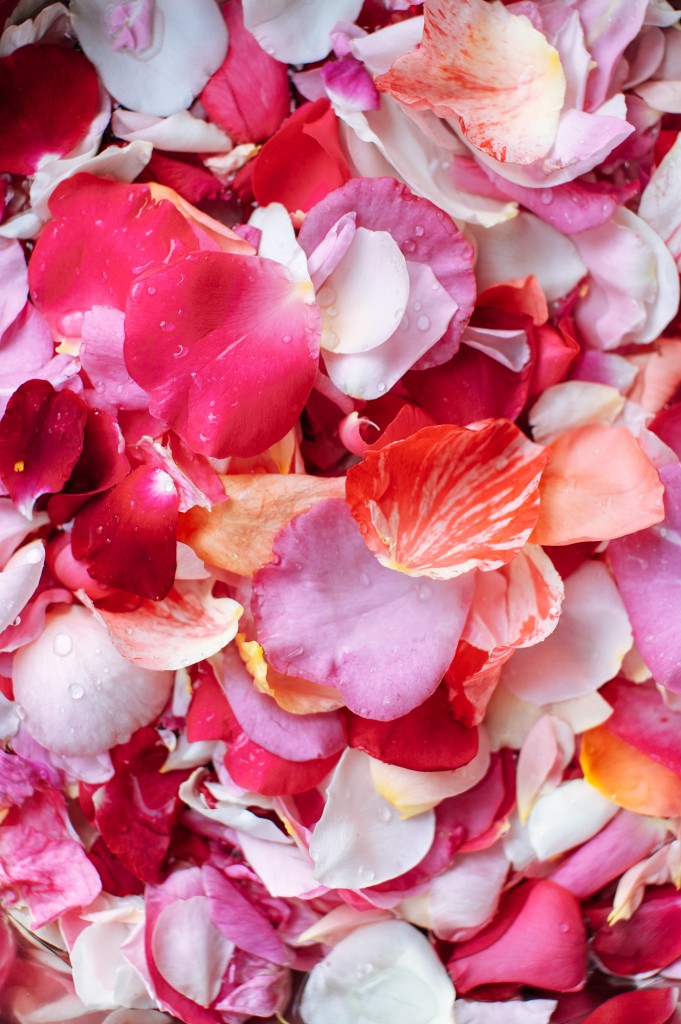
Fresh rose petal syrup
This is the easiest, and probably one of sweetest, prettiest things you will ever make. Just make up a sugar syrup by combining 1 cup of caster sugar to 3 cups water in a saucepan and bringing to the boil then simmering for a moment until the sugar has dissolved completely. Let the syrup cool until warm but not too hot then plunge in about three cups of rose petals (unsprayed). Use within a day or two (the petals will begin to lose their aroma and colour thereafter).
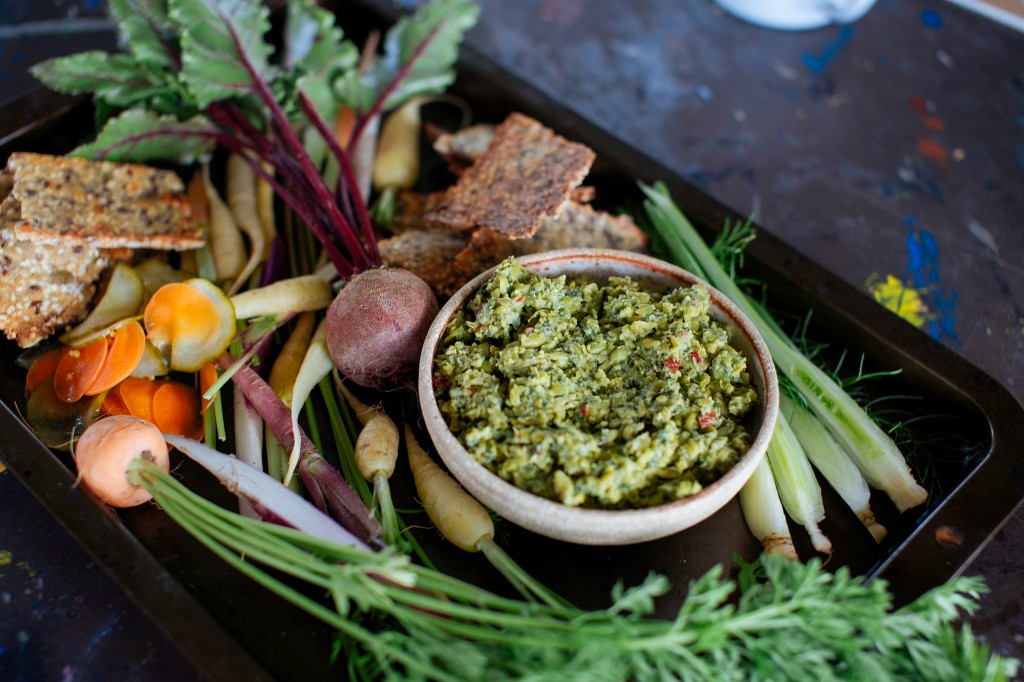
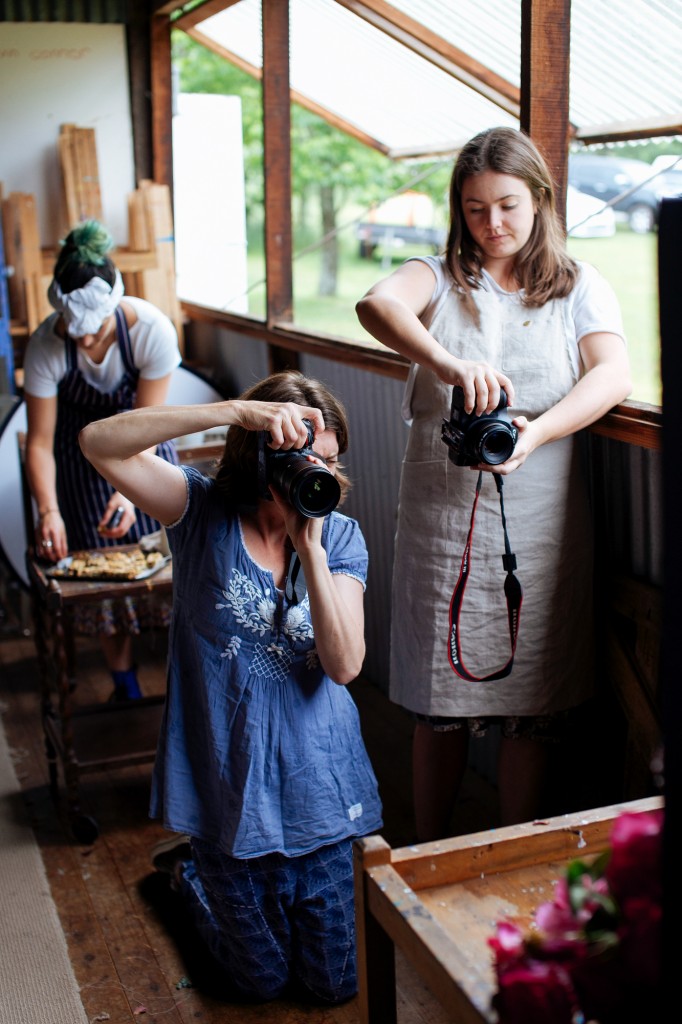
Back at the studio, we dove straight into styling and shooting sessions with Aran and Luisa, sustained by trays of nibbles which were almost too pretty to eat…
Spiced broad bean and green pea dip
The recipe for this dip, like the beetroot one below, is closely adapted from ones given in Anna Jones’ wonderful new book A Modern Way to Cook – if you haven’t yet come across Anna’s books, please seek them out, her food is just delicious. Makes about 2 cups.
100 broad beans (frozen is fine), double-podded
150g green peas
A handful of fresh coriander
A handful of fresh mint leaves
1 red chilli, finely chopped
Zest and juice of two limes
20g from a block of coconut cream
Blanch the beans and peas in boiling water for a few minutes then drain and refresh under cold water. Transfer to the bowl of a food processor and add remaining ingredients, blitz until you have a rough consistency, season to taste and serve with fresh and/or pickled vegetables and crackers.
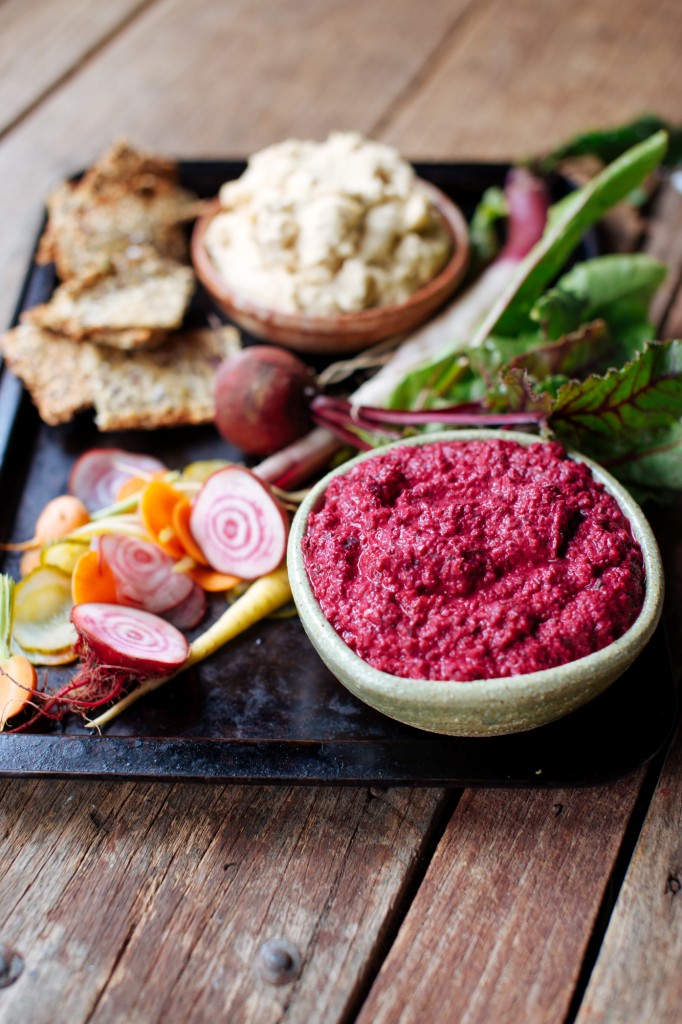
Beetroot and walnut dip
This dip is packed with flavour and goodness and is great with fresh vegetables and crackers but also beautiful served with barbecued red meats or as a base for a chickpea or quinoa salad bowl. Make double and keep a container of the stuff in the fridge for emergency snacking. Makes about 2 cups.
4 medium-sized beetroots, cooked until tender (I roast them)
2 tbsp Greek-style yogurt
1 handful dill
zest and juice of one lemon
1 tbsp olive oil
1 handful walnuts, toasted
Combine all ingredients in a food processor and blitz until a smooth-ish puree. Season to taste and serve as per above suggestions.
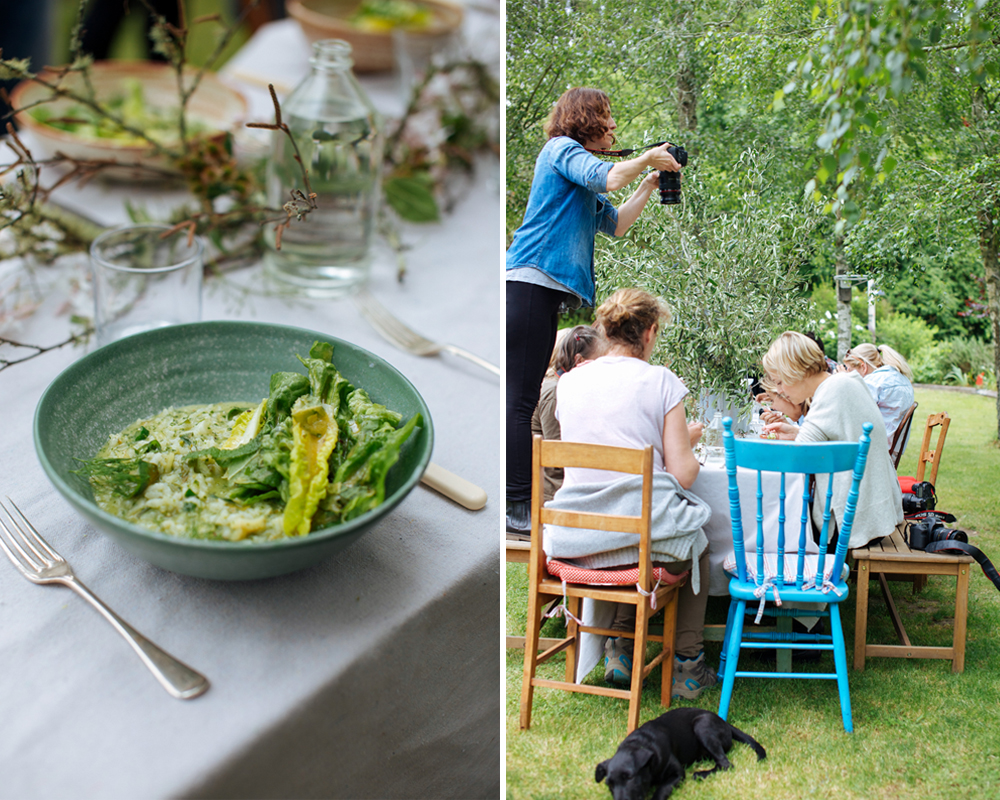
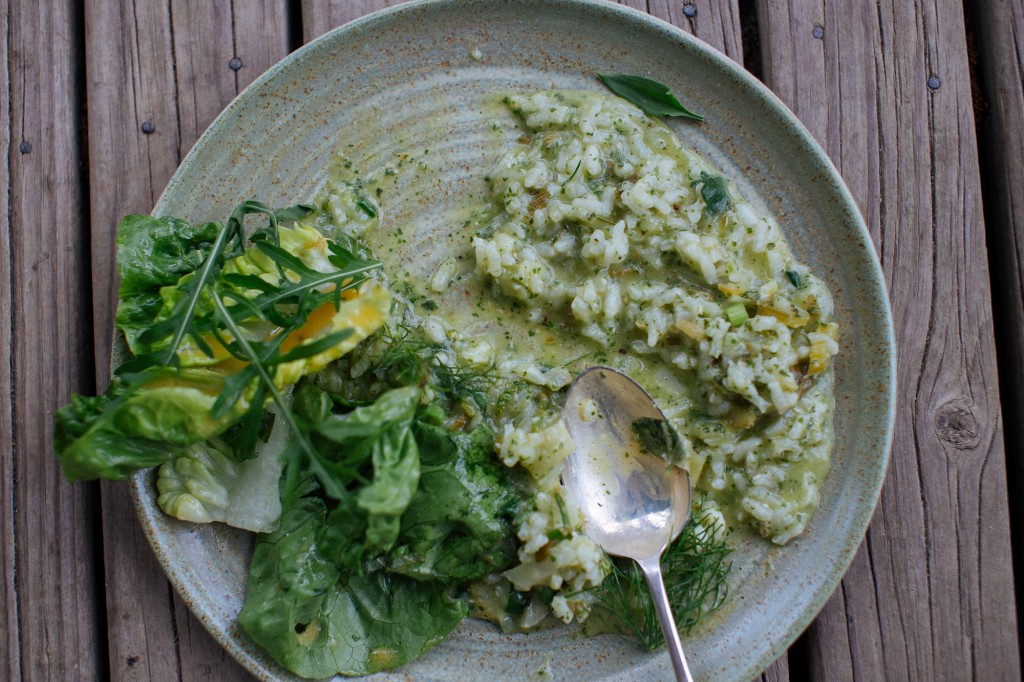
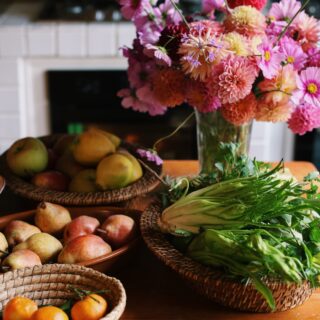
This is another of lovely Lily’s recipes – flying out the door to take everyone over to Epicurean Harvest in the morning I’d waved vaguely at the trays of beautiful produce we’d sourced from another local farm First Farm Organics and said something like ‘Lil – can you make us a sort of green risotto for lunch?’ We came back to find that she and Pip had done just that while Annabelle set the table so beautifully I wanted to confiscate her car keys so she could never leave.
Lily’s Fennel and Sorrel Risotto
This is, to my mind at least, pretty much the perfect thing to serve for a Spring lunch, add a dollop or two of goat’s curd, a green salad and some crunchy bread and the picture is perfect.
1 bulb fennel, trimmed and diced
1 brown onion, diced
1 leek, diced
1 stick celery, diced
30ml olive oil
150g butter
350g Arborio rice
300ml white wine
1.5L veggie or chicken stock
2 tsp salt
200g grated parmesan cheese (use at the very end)
80g cold diced butter (use at the very end)
In a large heavy based pot, cook off the all the diced veg in the oil. Once the vegetables are starting to become transparent, add
butter to melt, then add in the rice, stir in well let the rice soak up the butter before adding the white wine. Again stir well, let the rice soak up the white wine. Put heat on to medium level, then add in a cup of stock at a time, and stir well to incorporate. Repeat this method of a cup of stock in the pot at a time whilst stirring to make sure the risotto
doesn’t stick to the pot. Once all stock is in and the rice is cooked, take off the heat and stir in the 80g of butter and parmesan cheese, mix well to make sure its all melted in and starts to form a glossy appearance. Then just before your ready to dish up, mix the Salsa Verde in to the risotto. (recipe below). This will give the risotto a lovely fresh green colour and fragrance from all the herbs.
Serve in a bowl, with a simple Sorrel, rocket and mixed green leaf Salad with a vinaigrette dressing. YUM
Sorrel and mixed herb Salsa Verde
1 bunch of sorrel
1 bulb of fennel fronds
1 bunch parsley
1 bunch basil
50g dill
30g rocket
30g thyme
30g chives
20g rosemary
2 garlic cloves
1 tbsp capers
1 tsp salt
1/4 tsp freshly ground black pepper
2 lemons, zest and juice
50ml white wine vinegar
180ml olive oil
Put all Salsa Verde ingredients in a food processor and whiz until combined. Use in risotto just before serving. Makes about 2 cups.
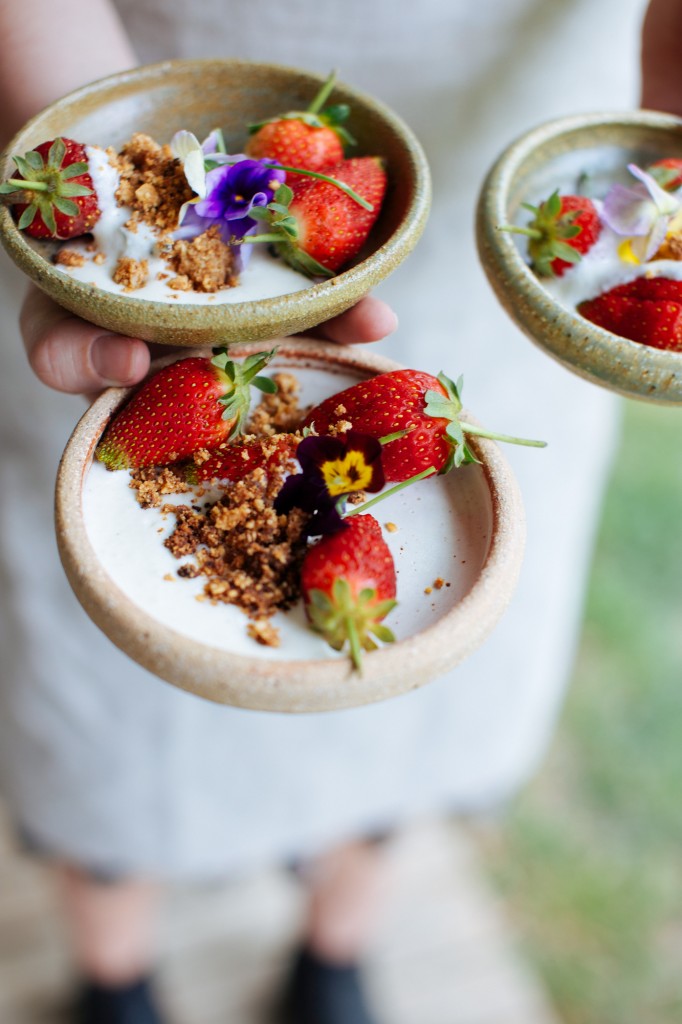
Risotto was followed by little bowls of farm fresh strawberries grown by Dougal Munro topped with edible flowers, again from Dougal’s farm, homemade vanilla creme fraiche (Aran’s recipe is here and it’s sooo good – I’m using the stuff like nobody’s business now). After lunch we returned to the studio for a wonderful afternoon workshop with Aran and Luisa before collapsing in and around the house before dinner to regroup, talk, walk, read etc.
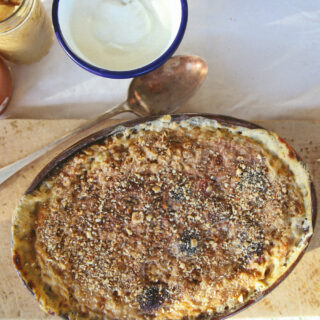
Gluten free crumble mix
Make up a big batch of this and have it handy to sprinkle over fresh fruit as we’ve done here, on yogurt or ice cream or over fruit to bake as a more traditional crumble. Makes about 2 cups.
100g brown sugar
Grated zest of one orange
Seeds from one vanilla pod
100g almonds
100g hazlenuts
2 tbsp poppy seeds
1/2 tsp ground cardamom
100g butter, cold and cubed
Preheat oven to 180c and line two trays with baking paper. Combine all ingredients in a food processor and whiz until just combined, then spread over the baking trays and cook for 20 minutes or until mixture is golden and crunchy (stir the mixture around a couple of times during cooking. Once cool, store in an airtight container for up to one week.
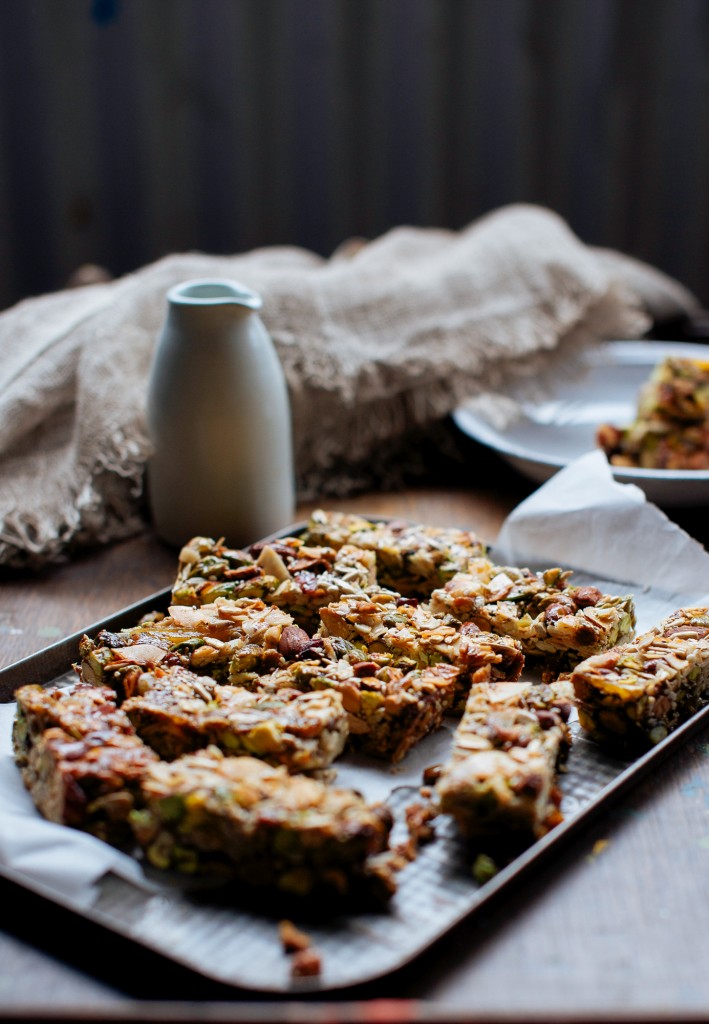
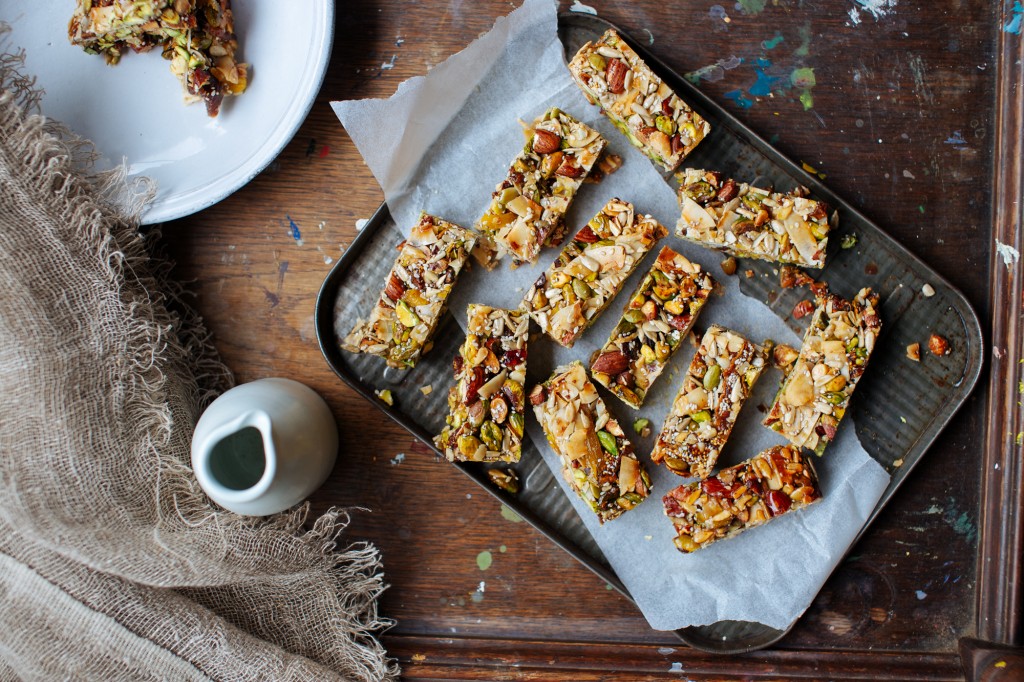
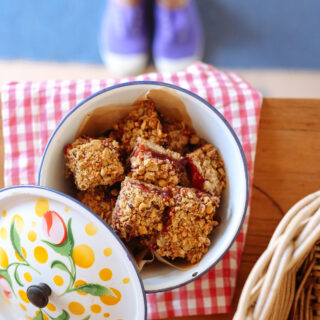
Muesli Bars
These were the perfect late-afternoon energy boost and a big thank you must to go Lily for sharing this recipe!
200g pistachio nuts
200g almonds (crush up a little if using whole nuts)
150g coconut flakes
100g dried figs (chopped up)
100g dried mango (chopped up)
100g sunflower seeds
100g pumpkin seeds
50g sesame seeds
30g chia seeds
80g unrefined castor sugar
50g coconut oil
50g Light agave syrup
50g maple syrup
Preheat oven to 155C and line a large baking tray with paper. Combine a dry ingredients into one bowl. Then, in a separate bowl, mix the sugars and syrups together with melted coconut oil.
Mix all together, making sure that all the dry ingredients are well coated with the sugar mix (if you find your mix is too dry add a little more agave syrup). Press mixture into the baking tray and cook for 20-30 minutes or until golden brown. Let cool slightly and then cut into desired bar sizes. Once completely cool, transfer to an airtight container and keep for up to a week. Makes about 16 bars.
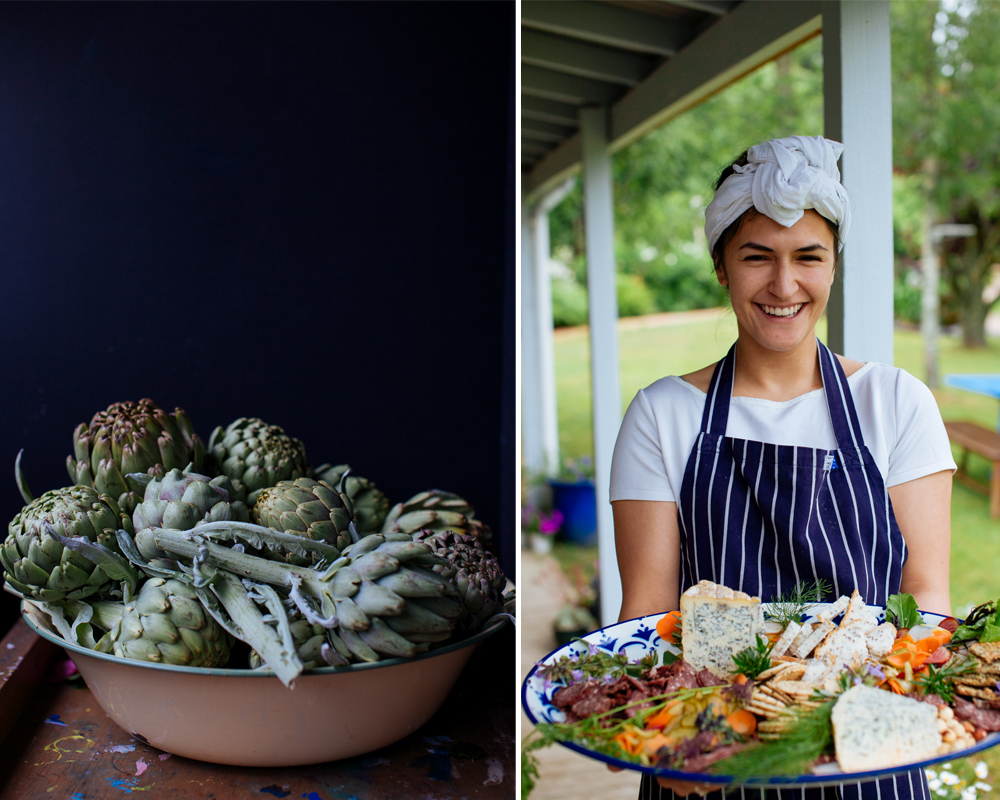
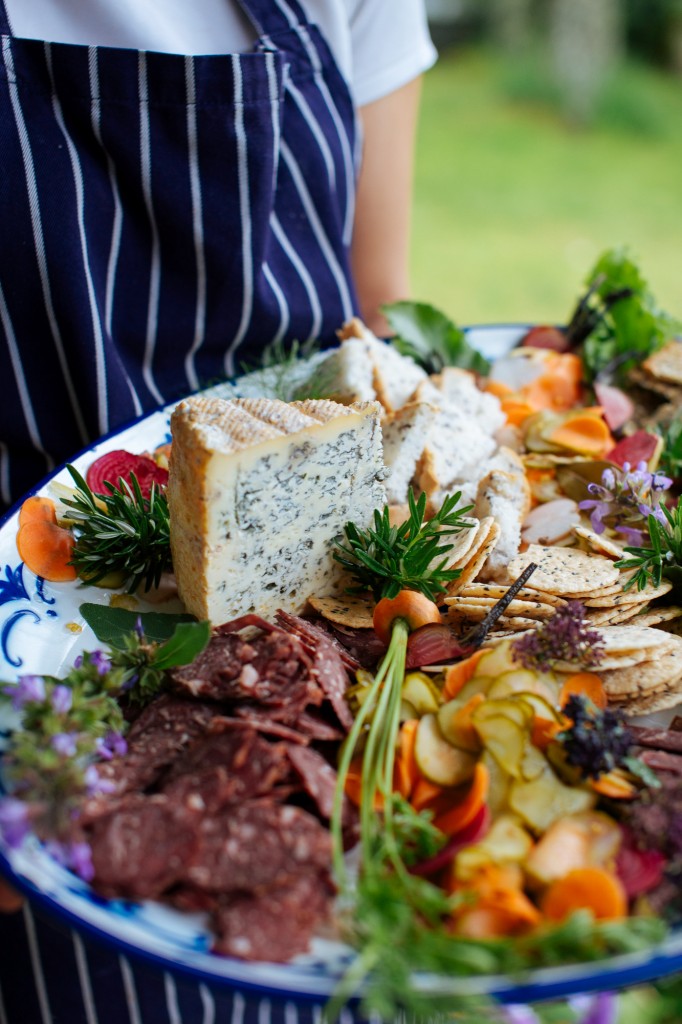
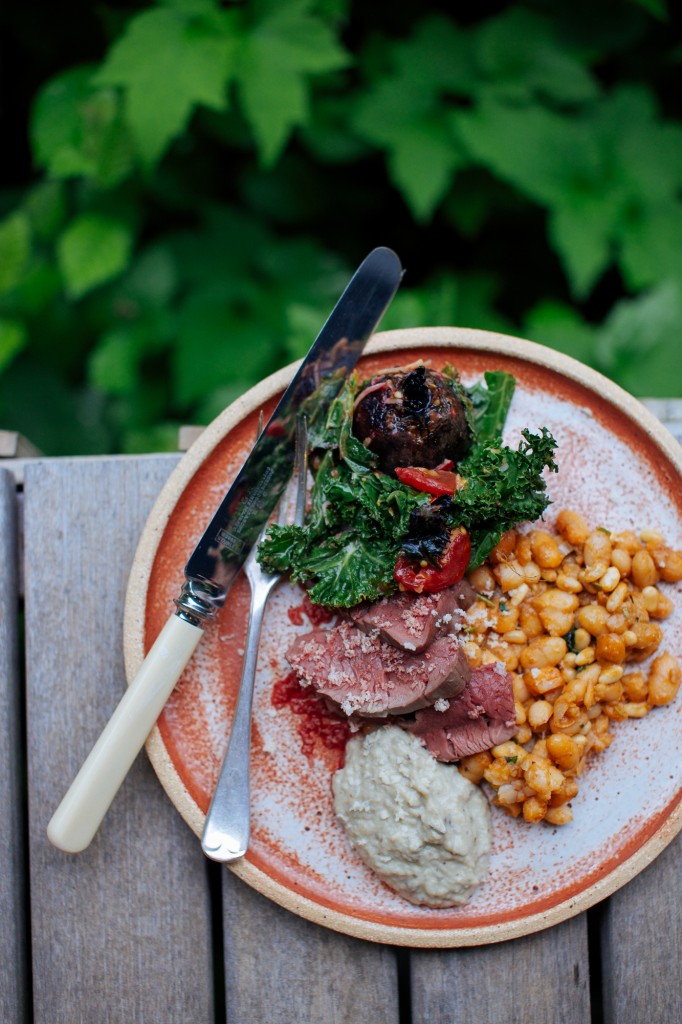
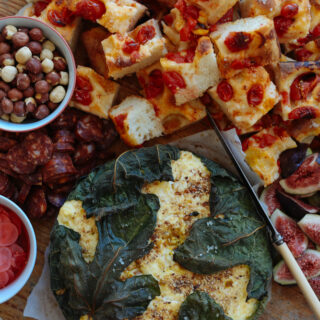
Our second dinner together was my favourite meal of the workshop – probably because it featured venison from our farm and I’m always really excited to share our own produce, but also because everyone had relaxed so much since arriving, friendships were forming and the pre-dinner, dinner and post-dinner chat was loud and long. We started the meal with huge platter of Second Mouse Cheese with pickled vegetables, crackers and venison salami then sat everyone down to roast venison tenderloin with spiced canellini beans, eggplant puree and a kale and roasted tomato and carrot salad.
Roast venison tenderloin with eggplant puree, orange tahini sauce and spiced cannellini beans
There are a few elements to this dish but most of them can be done well in advance and all of them are super easy. Also, you could easily swap the venison with a beef fillet or even chicken breast – but if you can source some of our beautiful, tender venison it will be super special. Serves 4.
For the venison
1 x venison tenderloin (you can source it directly from us, aka Mandagery Creek Venison or ask your butcher to get in touch)
For the venison
Cooking venison is really easy – just remember you need a high heat and short cooking time. There’s virtually no fat at all here so you want to make it a bit of a ‘flash in the pan’ scenario. So in this case I just browned the fillets on each side and then cooked them in a high oven (200C) for five minutes before letting them rest well and slicing into medallions, across the grain.
For the beans
2 cups cannellini beans
1/4 cup olive oil
1 tsp each ground cumin, coriander and smoked paprika
Soak the beans overnight in a big pot of water. Drain then cover again with water and good pinch of salt and cook until very tender, the time this takes will depend on the beans you have, how old they are etc. Once lovely and tender (try a few), drain and set aside for a moment. Wipe out your pan then return it to a moderate heat, add the olive oil and gently tip the beans back in, add the spices and pine nuts and stir to combine. Now tip mixture into a large baking tray, cover with foil and cook in a low oven until needed, check every now and then to ensure they aren’t drying out, in which case just stir through a little stock or water.
For the eggplant
2 eggplant
2 tbsp tahini
Juice of one lemon
2 tbsp olive oil
Rub the eggplant in oil then wrap in foil and cook in a moderate oven for one hour or until cooked through. Once cool enough to handle, scrape the flesh into a food processor and add the tahini, lemon juice and a good glug of olive oil and blitz until smooth.
For the orange tahini sauce (not pictured but too good to leave out)
This sauce is inspired by one in Sarah Britton’s book My New Roots – it’s amazing with pretty much anything, especially our venison!
1/2 cup tahini
2 tsp maple syrup
2 tsp apple cider vinegar
Zest and juice of one orange
1tsp fresh ginger, finely grated
Combine all ingredients in a food processor and blitz to combine. Season to taste then transfer to a jar and store in the fridge for up to one week.
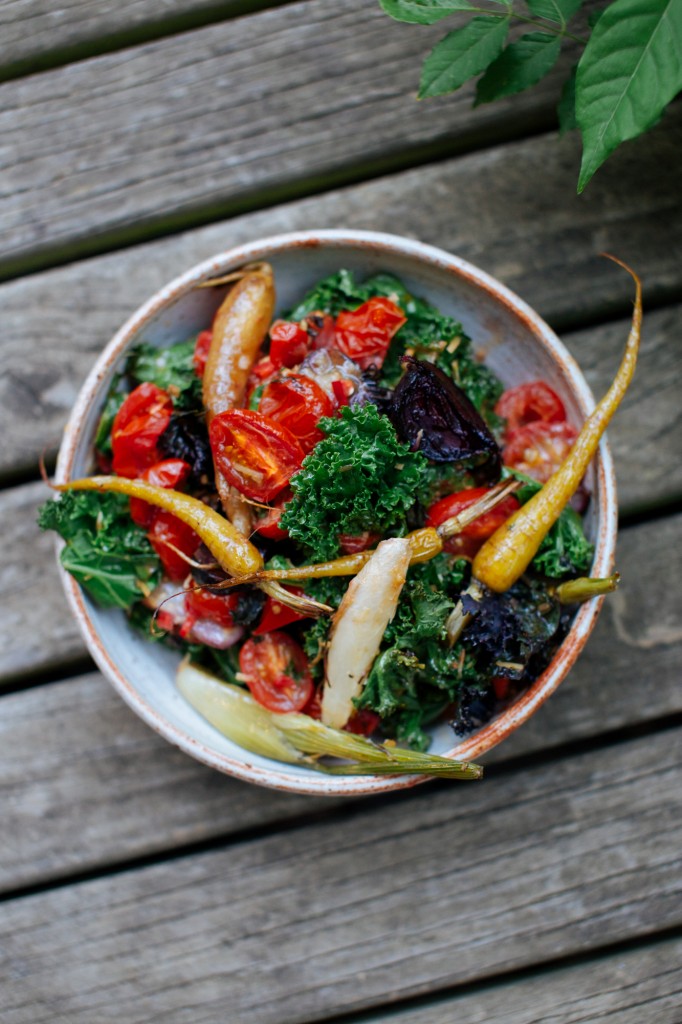
Roasted kale and cherry tomato salad
1 bunch kale, torn into pieces
1 cup cherry tomatoes
Mixed roasted vegetables (we used baby beetroot and carrots)
1 tsp ginger, finely grated
1 tbsp tahini
1 tbsp maple syrup
1 tbsp olive oil
Preheat the oven to 18O, arrange the cherry tomatoes on one tray, sprinkle with the lime zest and juice, season well and roast for 20 minutes. Scatter the kale over another tray, drizzle with the soy sauce and in the last ten minutes of the tomatoes’ cooking time, place this in the oven too. Whisk the salad dressing ingredients together, once the tomatoes and kale are cooked, combine in a large bowl and dress, add the vegetables. Season to taste and serve warm. Serves 4.
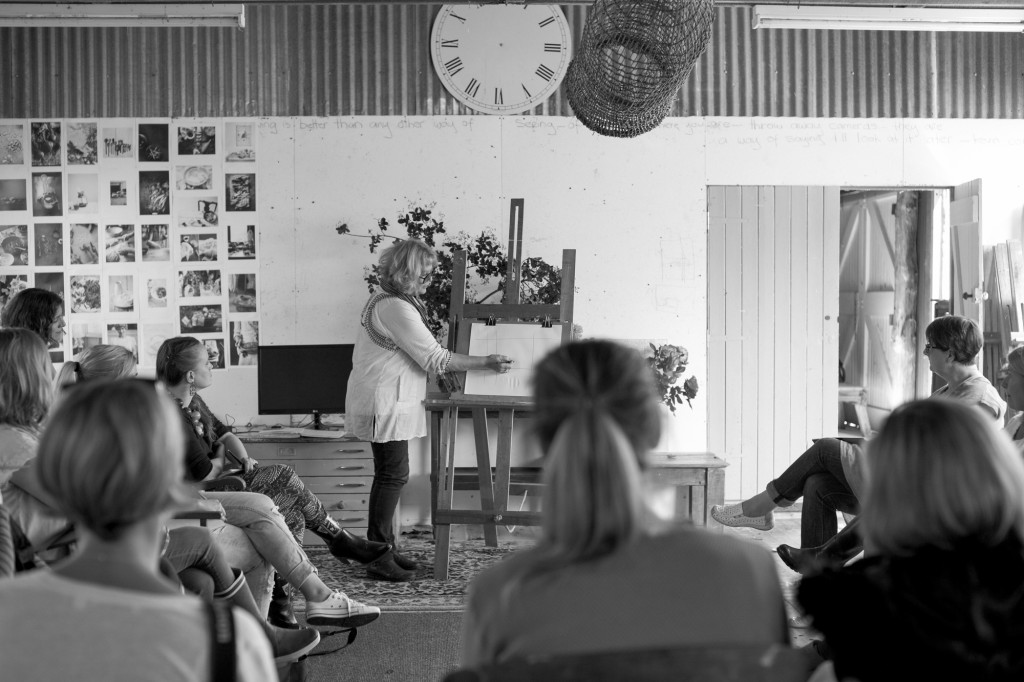
Day three of our workshop started with a dawn picnic that I’ll post about another day (soon), and then straight into the studio with a session led by Mum. This is always one of the most valuable parts of our workshops, it’s where she lends a trained artist’s eye to the idea of perspective, the rule of thirds and composition in food photography and it always opens everyone’s eyes that bit wider.
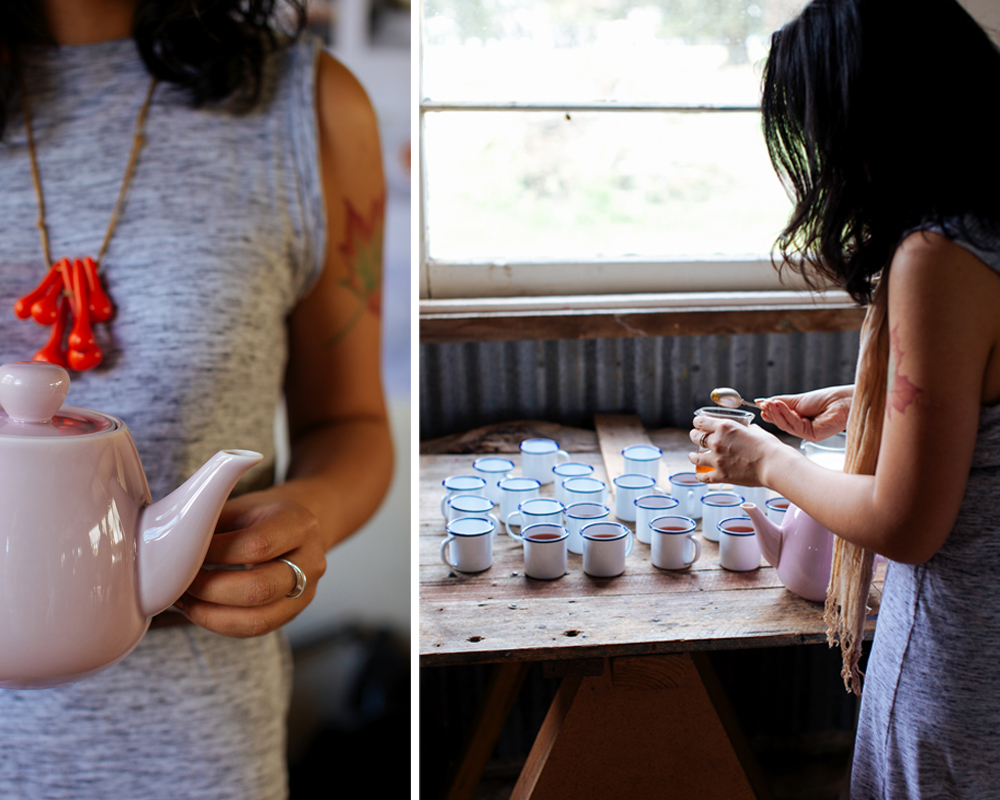
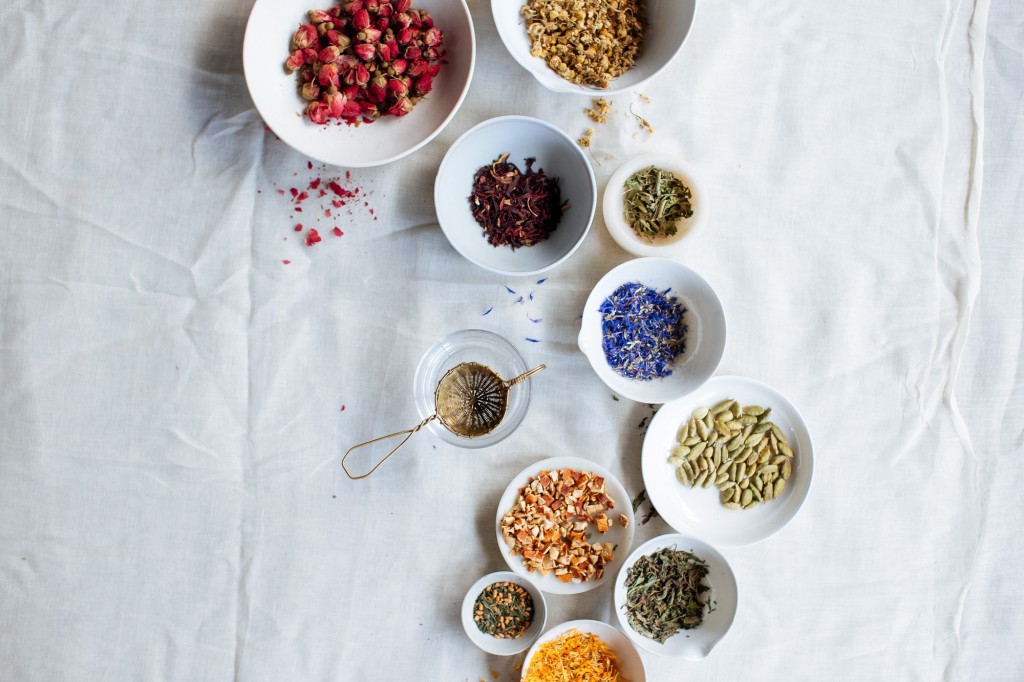
And for morning tea we had this gorgeous lady come all the way from Sydney to make us a warm and spicy Zanzibar chai tea, hand blended by her very self and sold under her boutique tea label Kettle Town. Lily also brought a bunch of base ingredients for us to blend our own teas, a process which was styled and widely documented by the whole workshop with beautiful results.
Thank you Lily – your teas are so beautiful. And ps, how cool is her tatoo!
So that’s it. Thank you so much for reading this epic post – I hope you find one or two recipes you’d like to cook from it one day. And, if you are considering coming along to one of our workshops next year, I hope it has given you a better idea of what’s in store if you do – and please do! Thanks, Sophiex
We are now taking bookings for the below three workshops, they are all going to be AMAZING. Hope to see you at Kimbri next year!
Marta Greber, Simone Hawlisch and Luisa Brimble – Food photography and styling and collaborating.
16-18 March 2016, Rydal NSW
Imen McDonnell of Modern Farmette and Luisa Brimble – food photography, styling and traditional kitchen skills
6-7 April 2016, Rydal NSW
Skye McAlpine and Luisa Brimble – Spring food photography, writing and styling workshop
October 5/6 2016, Rydal NSW



Wow what a beautiful and inspiring post!
Blooming lovely xx
The workshop was so fantastic Sophie. It is a bonus now to get all the recipes. The food we ate and photographed was so amazing. Thank you. xx
Thank you for your kind words Sophie 🙂 It was a pleasure to bring my little contribution to a fantastic time, journey even… to to a world of beautiful things.
I am so grateful for the recipes, I loooooved everything that was prepared for us during these three days and will definitely make all these recipes, one by one 🙂
Thank you for such a wonderful recap of the workshop. We all had such an incredible time. There are just two recipes I would love to request if you are able to share them with us? Your coconutty chocolate bars, and also your mousse with sweet dukkah. I found your sweet dukkah recipe already. They, along with the dinner of venison and the Spring risotto were my stand out meals. I can’t wait to recreate them all.
Hi Justine, Thanks so much! I’ll post the chocolate bars next week and the mousse recipe I use is actually Bill Granger’s from his first book Sydney Food – it’s a cracker! Hope all is well with you. Sophie
Thanks Sophie! Those chocolate bars are going to be a hit! Honestly, one of the best I’ve ever had! Thank you again for such a wonderful workshop. I’ll be at the next one. xo
Hooray! Thanks for posting the recipes, Sophie. Such beautiful images from a beautiful place. Thrilled to have been a part of it, and can’t wait to make some of these asap!
xx Jill
Oh my! So beautiful and inspirational …. when is the next one!!
Hi Angela, I’ve just added dates for the next three workshops to the bottom of this post. Hope to see you at one of them next year! Sophie
Sophie…almost too much goodness and beauty in one post. I need a cup of tea and good lay down xx
PS I wasn’t feeling particularly festive until I spotted your new header x
Beautiful photos Sophie and I am sure the food not only looked good but tasted amazing. Can’t wait to come back to the Kimbri Farm in March. You guys rock!